To purchase items from this design | Click Here


Artist, Photographer, Songwriter, Independent Publisher & Newfoundland Author
Your blog category
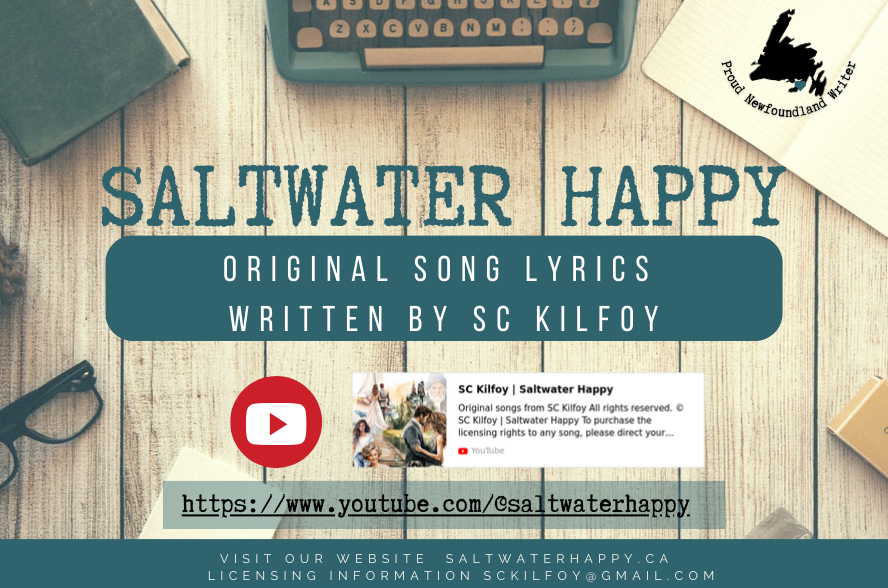
Subscribe to our YouTube Channel https://www.youtube.com/@saltwaterhappy for more songs and life updates
Original songs from SC Kilfoy
All rights reserved. © SC Kilfoy | Saltwater Happy
To purchase the licensing rights to any song, please direct your inquiries to sckilfoy@gmail.com
Website: https://saltwaterhappy.ca
Facebook: https://www.facebook.com/sckilfoy/
YouTube: https://www.youtube.com/@saltwaterhappy
Tiktok: https://www.tiktok.com/@saltwaterhappy
newfoundland, newfoundlander, newfie, originalsong, original song, song writer, writer, saltwater happy, sc kilfoy, music, music video, visualizer, music, video, musicvideo, newmusic, independentartist, unsignedhype, indieartist, unsigned, songwriter, smallbusiness, business, follow, entrepreneur
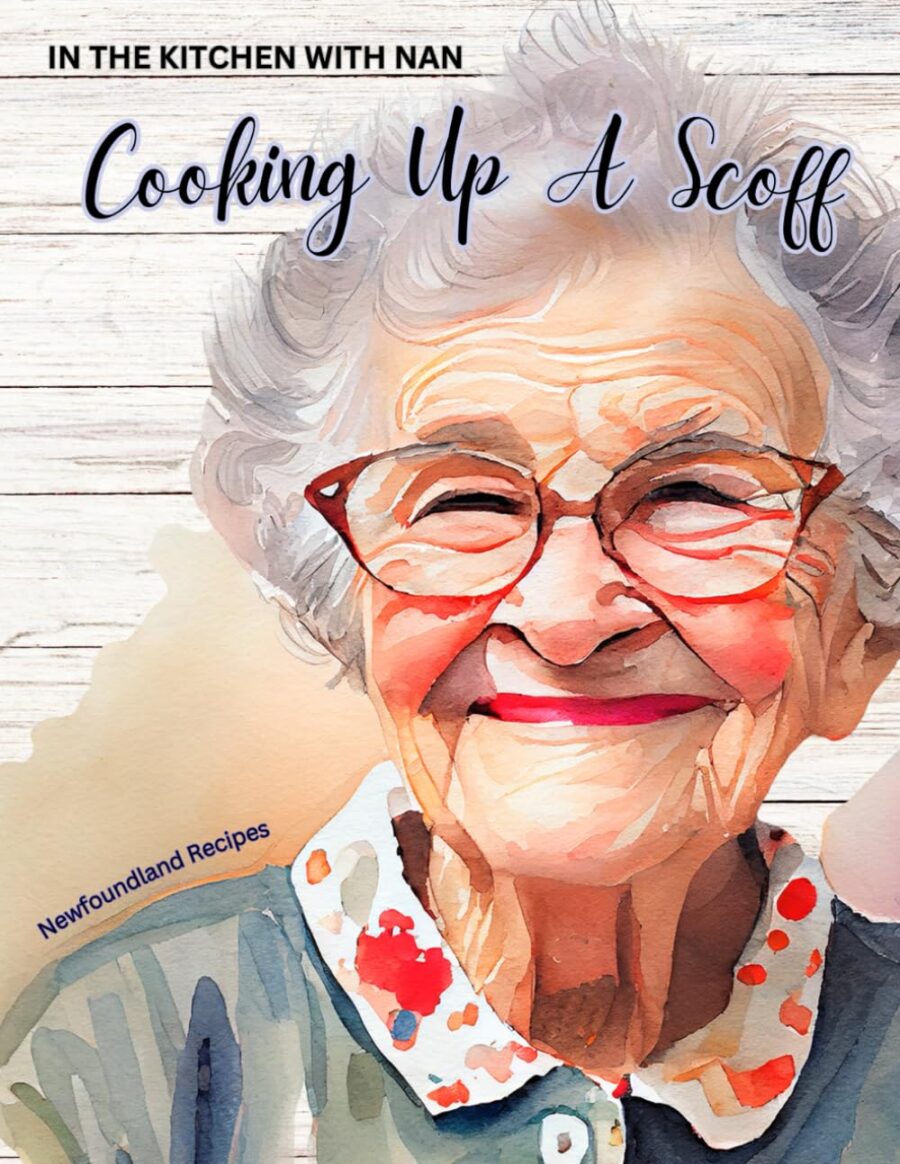
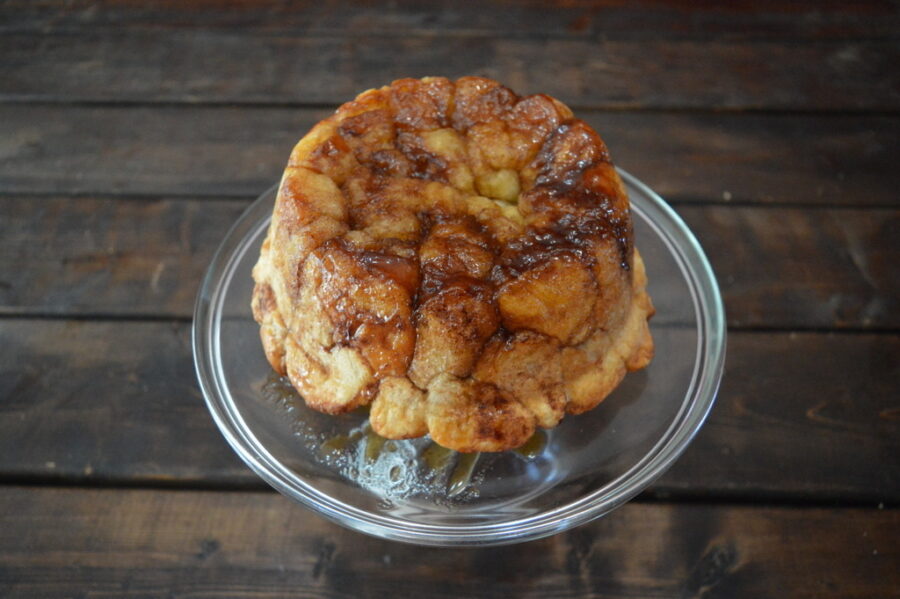
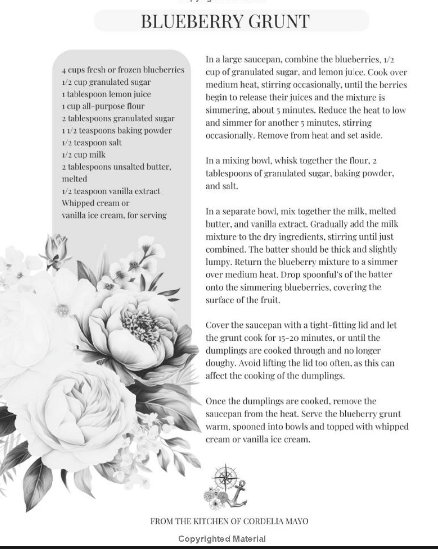
Join Nan in her Newfoundland kitchen as she cooks up some favorites as well as some new dishes you might not have tried.
Recipes Included:


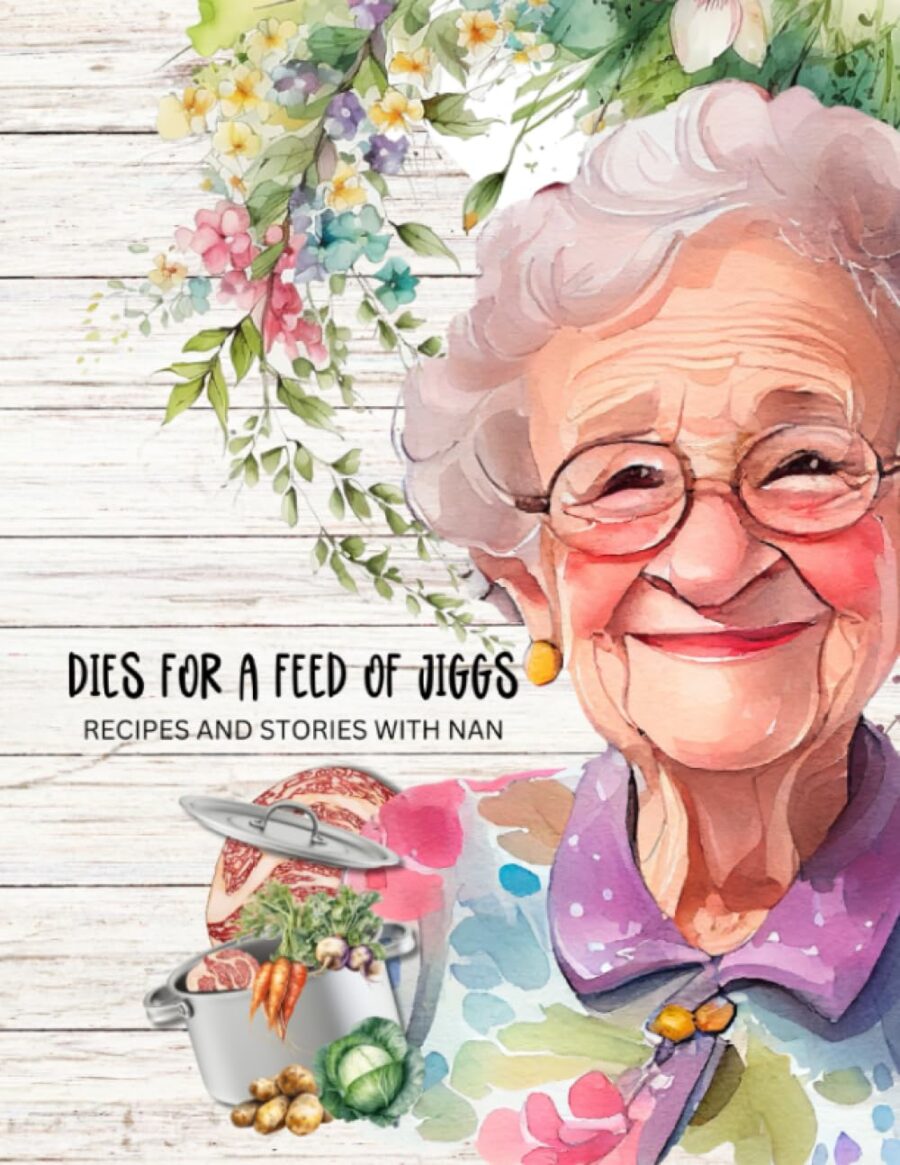
A sweet little book filled with our Newfoundland recipes and stories about Nan.
Recipes Include:
Feel free to leave your recipe in the comments. What do you do differently?
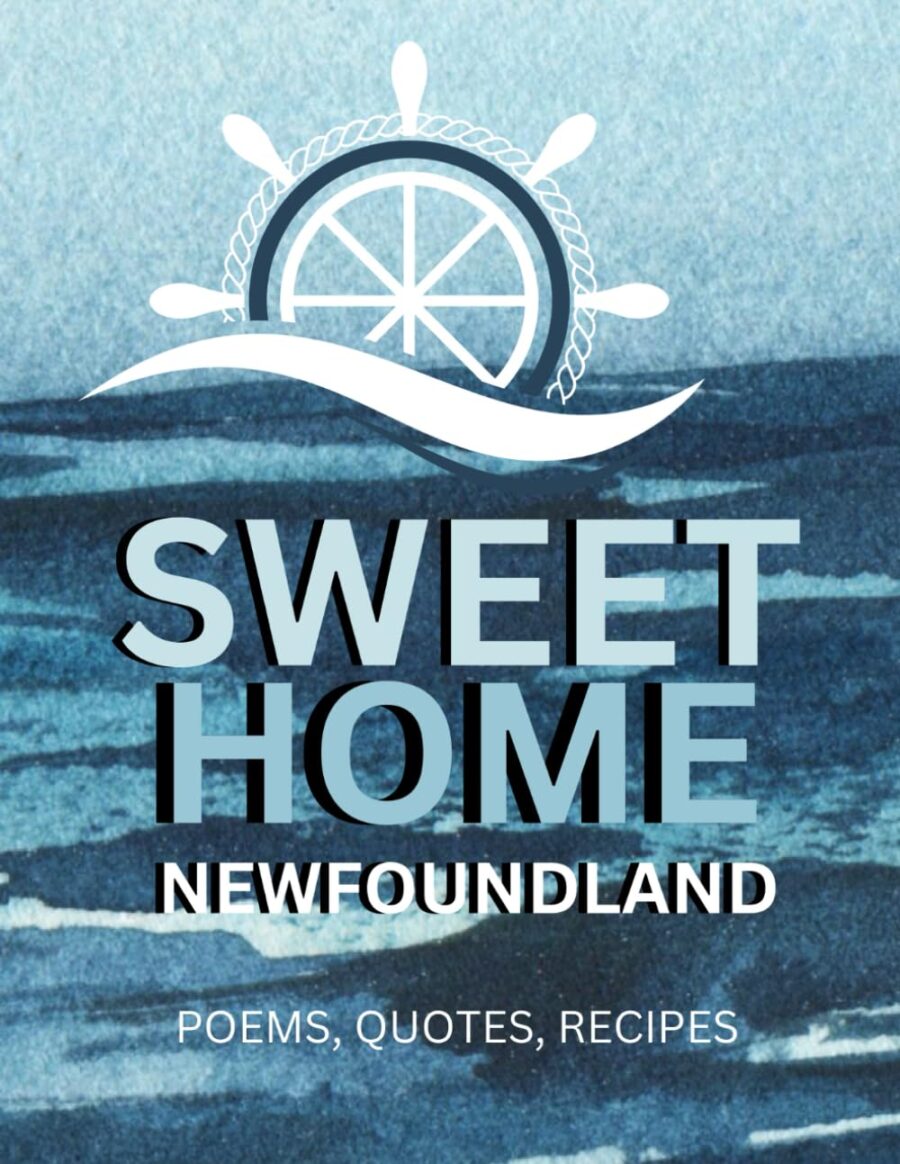
There is so much to see and learn about in Newfoundland and this book is just one tiny part. – It is filled with quotes, poems, recipes, and lists like trails, beaches, and even a bucket list.
Recipes Included:

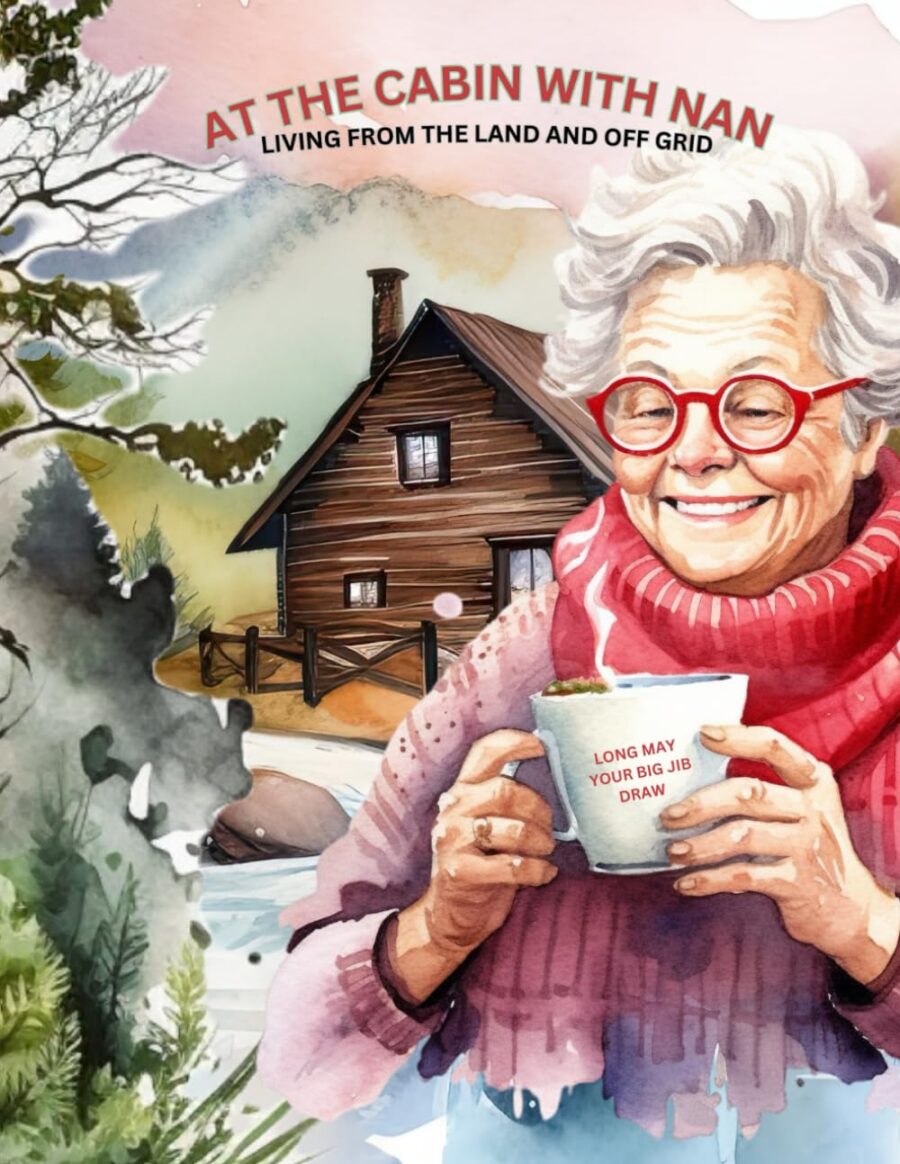
Spend some time at Nan’s off grid cabin in Newfoundland.
Here are the topics covered:

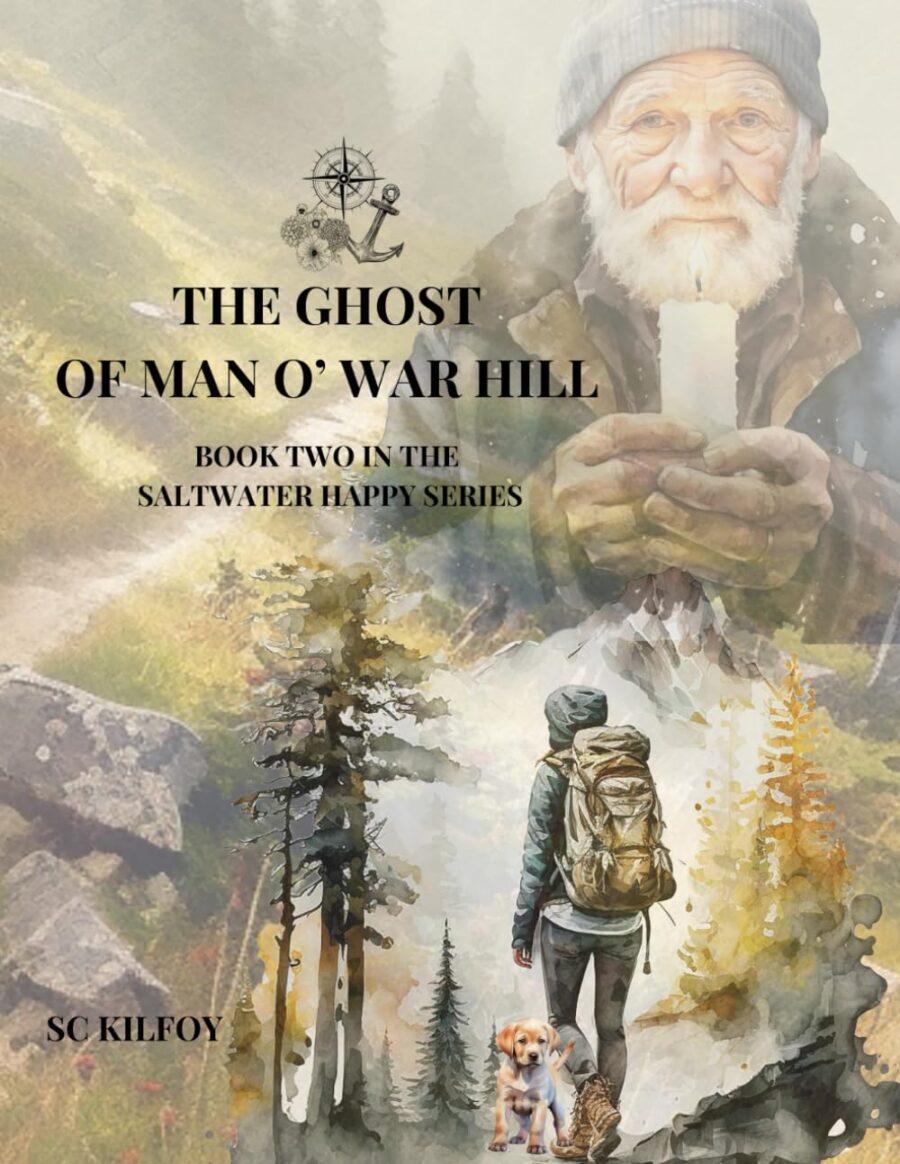
Book Two in the Saltwater Happy series catches up with Jennifer as she graduates high school and learns to deal with loss and first loves.
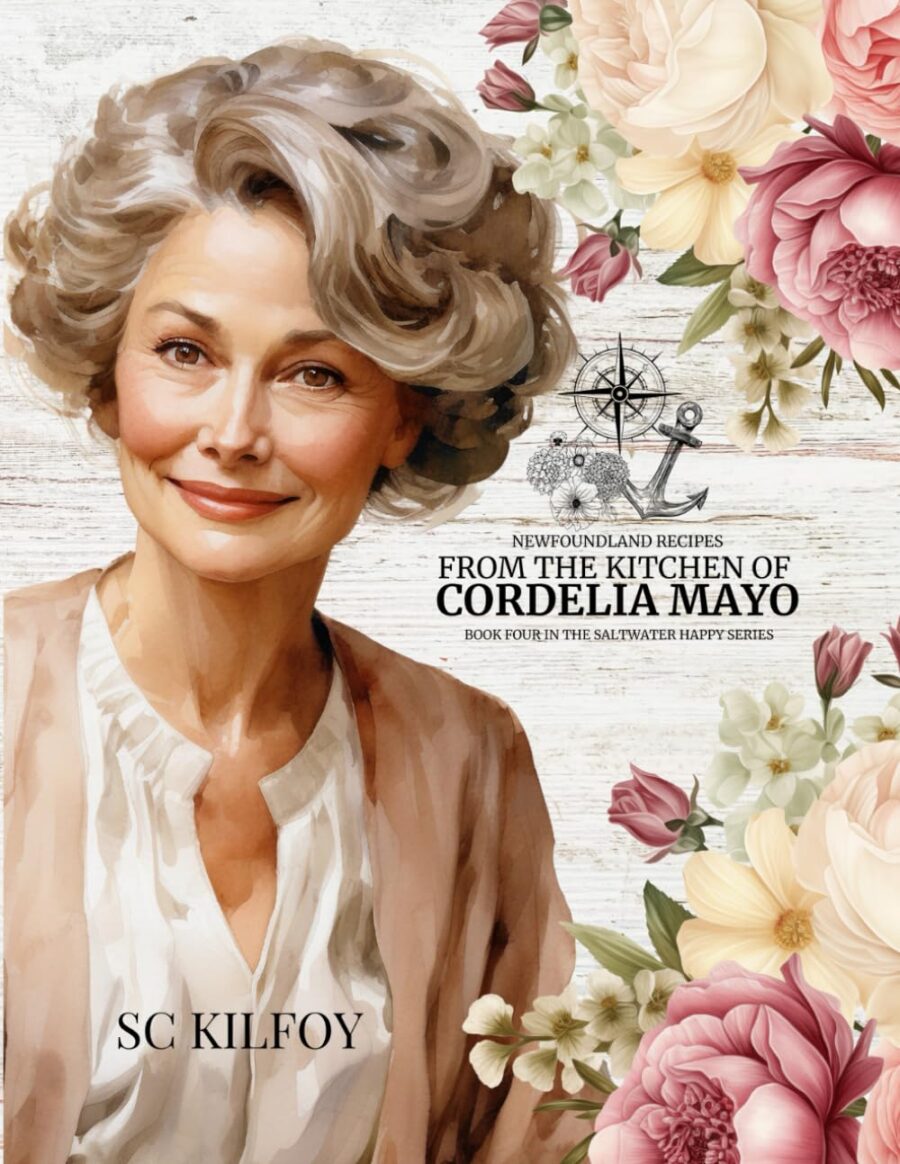
Recipes are included from Cordelia Mayo’s recipe collection as well.


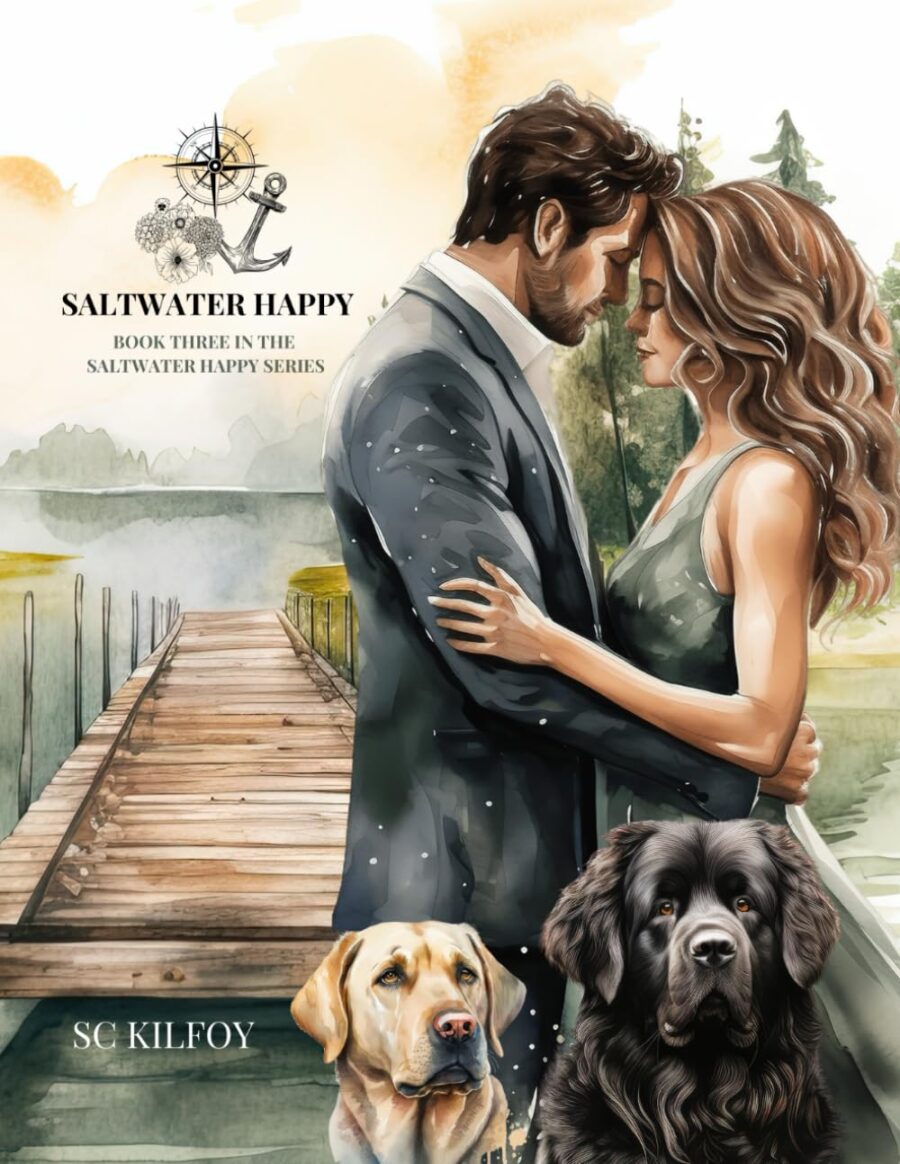
Book Three in the Saltwater Happy series follows Jennifer and Josh as they prepare for their wedding. Included in this book are Cordelia Mayo’s treasured family recipes that will infuse the celebrations with love and good food.

A Newfoundland cookbook filled with tried and true recipes from Cordelia Mayo’s kitchen.

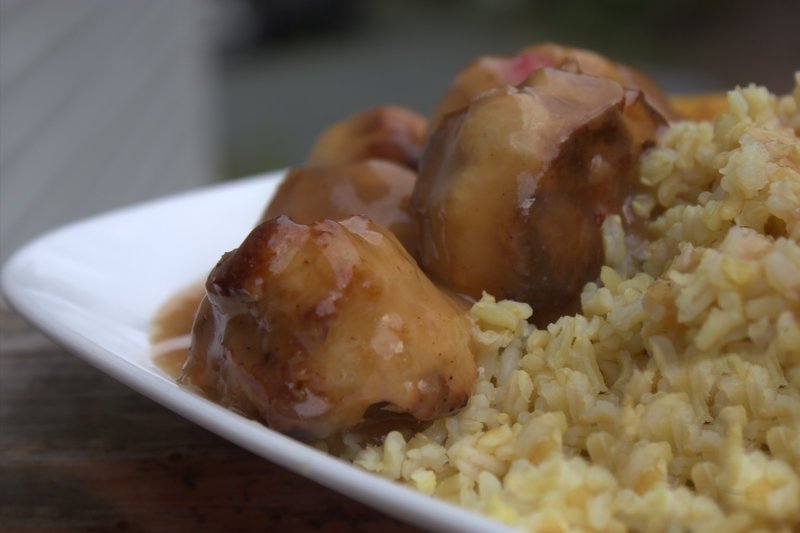
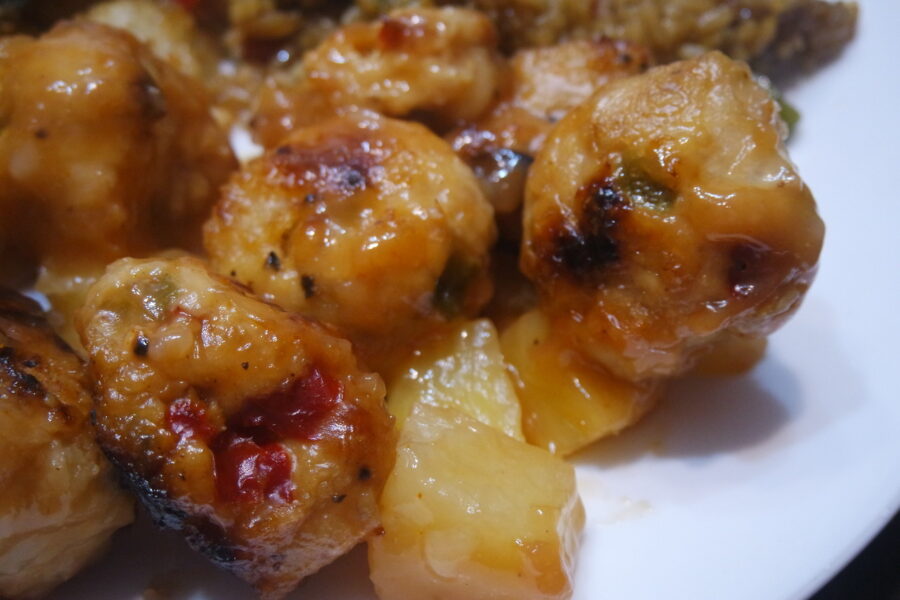
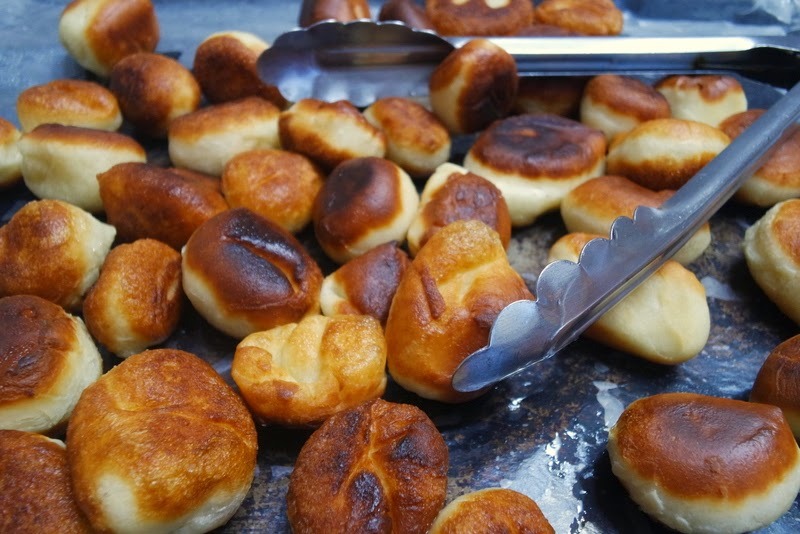
For the Chicken Balls:
For the Sauce:
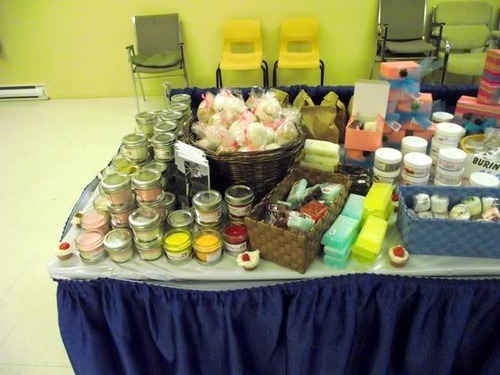
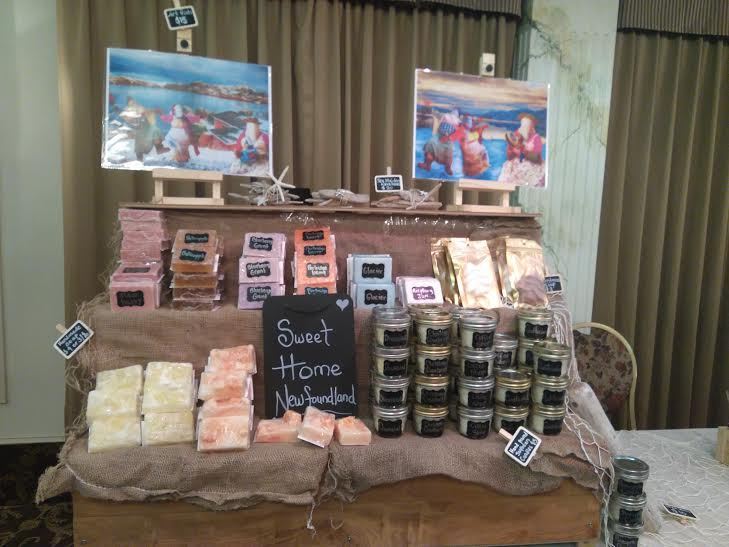
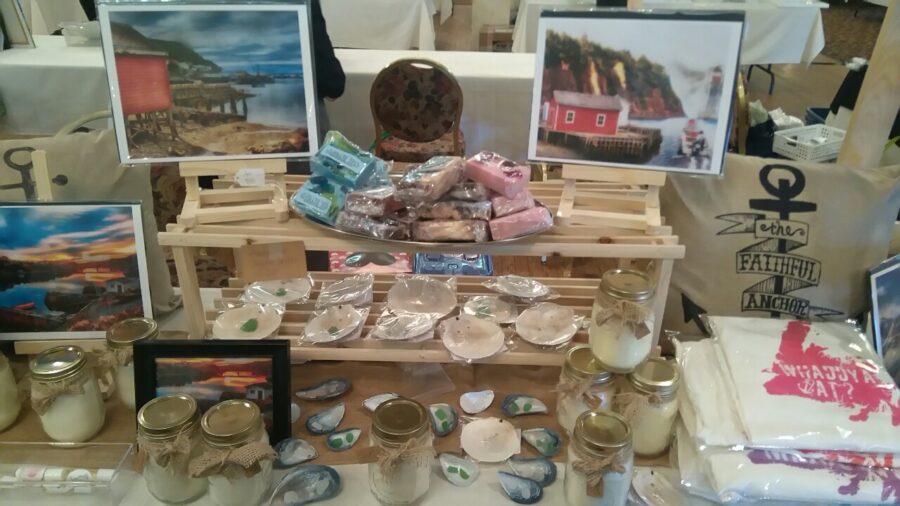
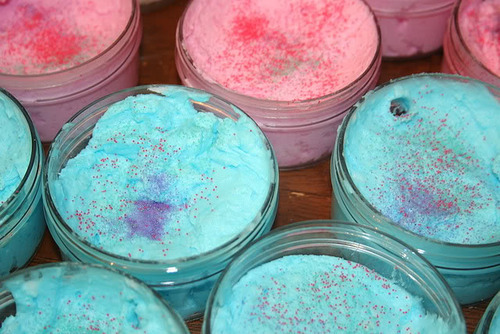
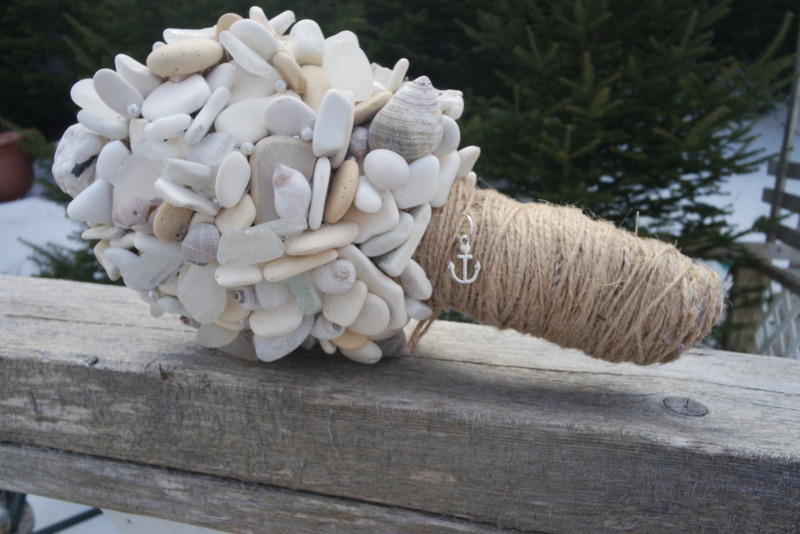
This soap reminds me of sitting on the wharf with my feet dangling into the water, watching the waves crash around the shore. The sea foam clung to the rocks as I scanned the area for broken shells, hoping for a dolphin to swim into the harbour. It was a magical time back then. To recreate that memory, I came up with the idea for Seashore Soap.
Note: I purchase my supplies from New Directions.


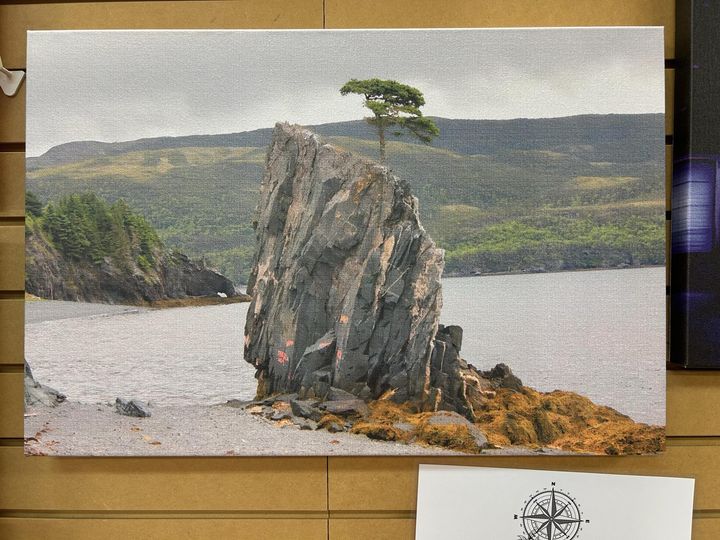
New Canvas from SC Kilfoy and Saltwater Happy. 16×24 $59.95 + tax
Located in: M&M Quick Copy, Marystown Mall
Address: 195 Ville Marie Dr, Marystown, NL A0E 2M0
Open ⋅ Monday-Friday 9 AM – 5 PM
Website: https://mmquickcopy.com/
E-mail: mmquickcopy@eastlink.ca
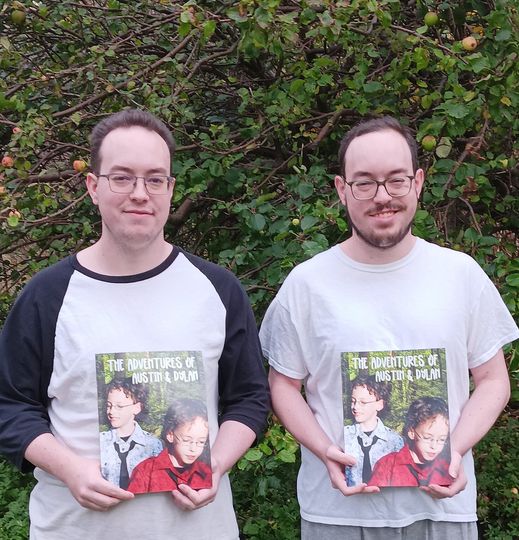
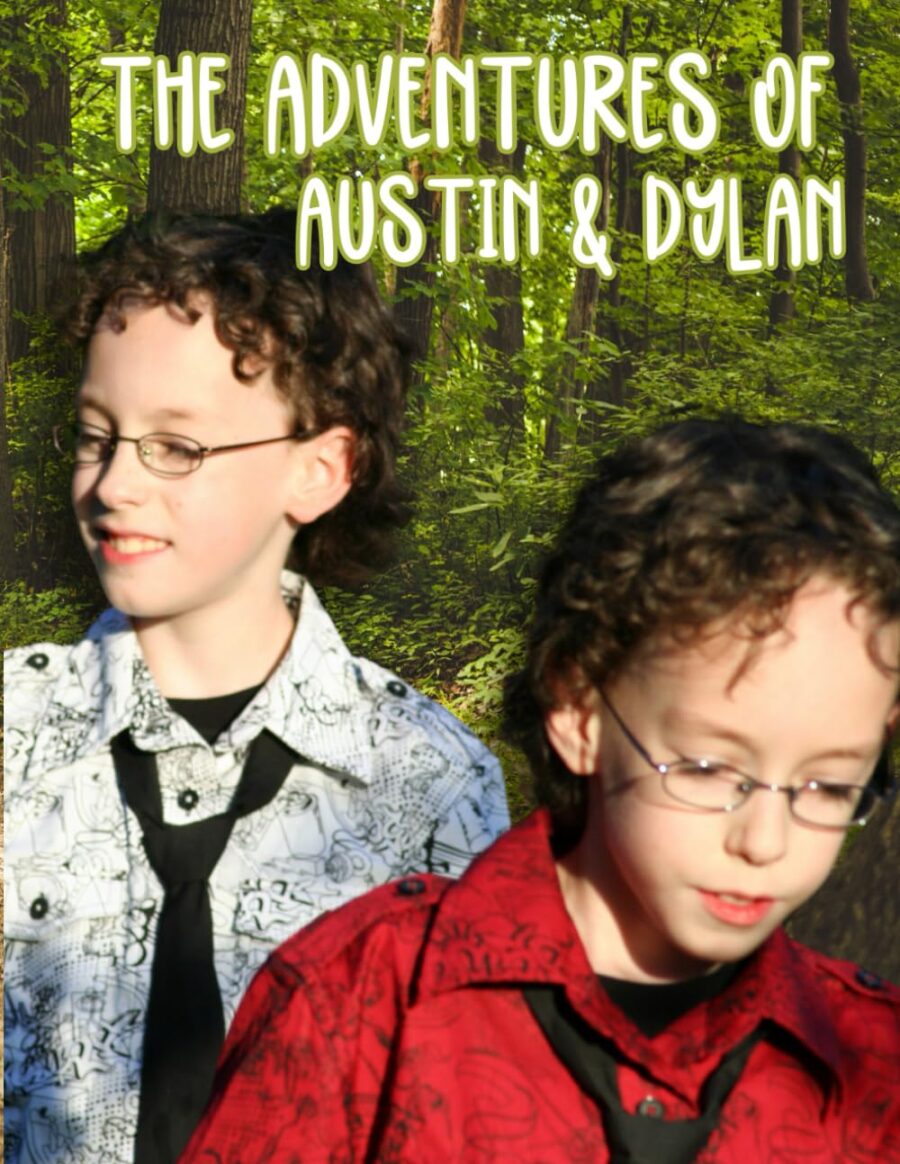
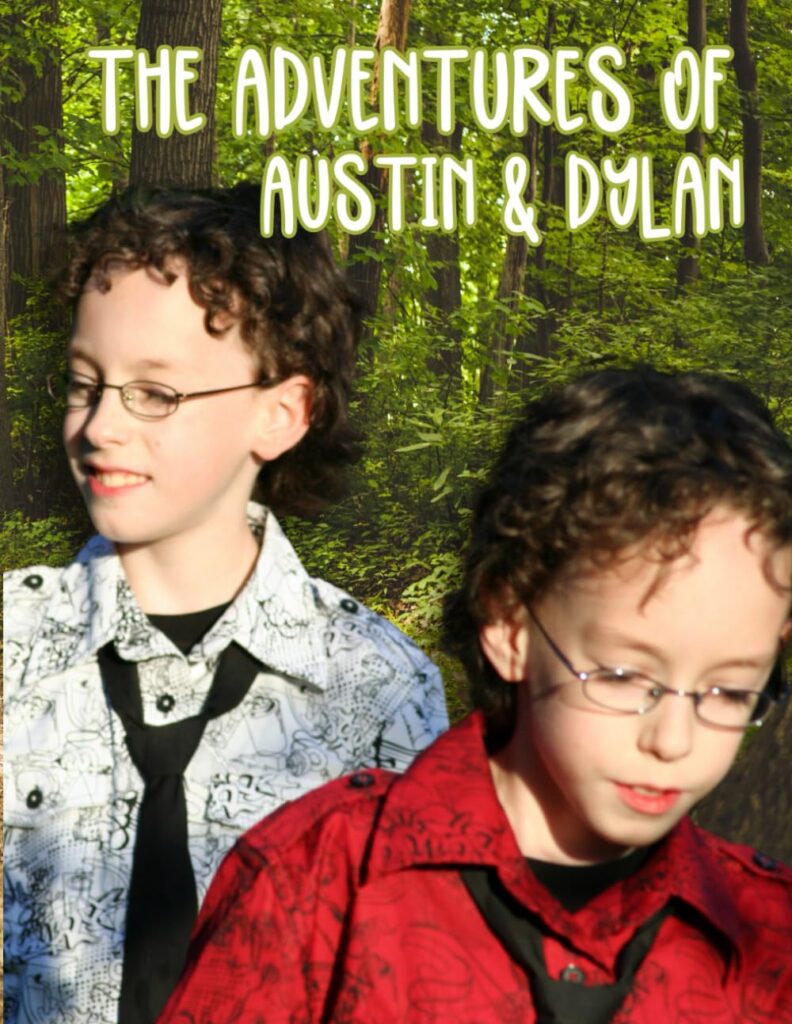
Austin and Dylan are all grown up. Here they are with their books. Picture taken in the same garden I took their pictures in when they were kids. ![]()
![]() The brief with their Momma Leanne Drake-Kavanagh on that day many years ago was to let them run wild in the trees. haha I’m so happy it finally came to print. To purchase the book, click here.
The brief with their Momma Leanne Drake-Kavanagh on that day many years ago was to let them run wild in the trees. haha I’m so happy it finally came to print. To purchase the book, click here.


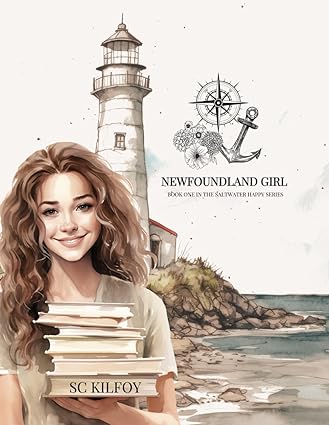
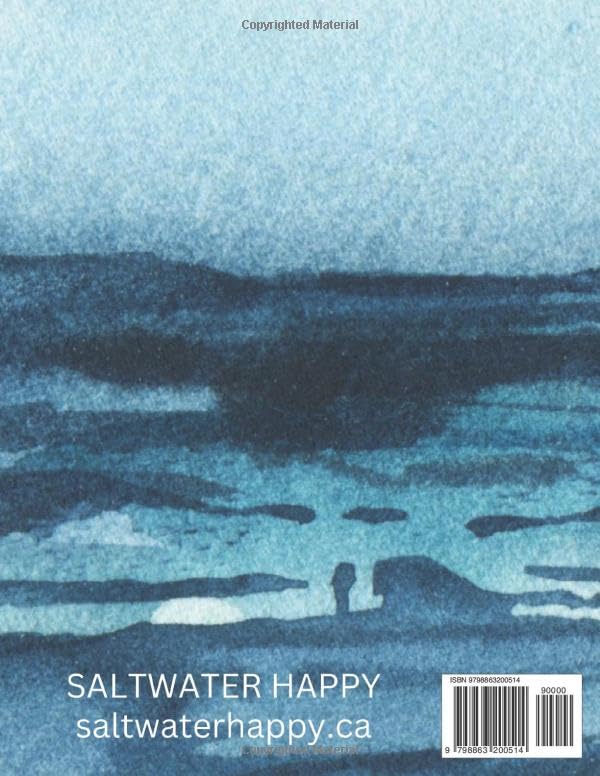
Start at the beginning with Book One in the Saltwater Happy series. Meet Jennifer as she arrives in Newfoundland. Read along as the young girl deals with beginning a relationship with her cancer-stricken Grandmother and Aunt as well as making her first friend.
The book includes recipes from Cordelia Mayo, Jennifer’s grandmother.

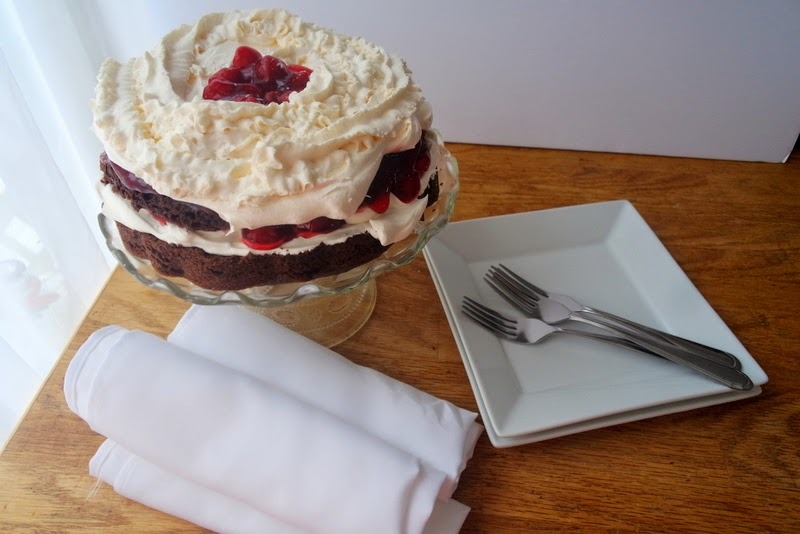
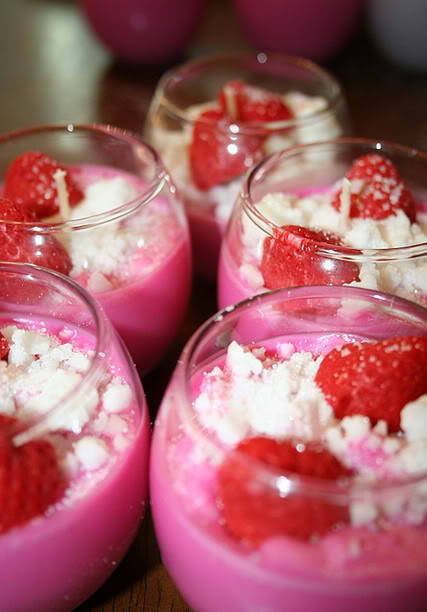
Poems, quotes, and cheesecake recipes for you and a friend.
Recipes Included:
★Vanilla Cheesecake
★Pineapple Coconut Cheesecake
★Caramel Cheesecake
★Blackberry Cheesecake
★White Chocolate Raspberry Cheesecake
★Mango Cheesecake
★Baked Ricotta Cheesecake
★Butterscotch Cheesecake
★Triple Topped Cheesecake
★Strawberry Swirl Cheesecake
★Chocolate And Toasted Coconut Cheesecake
★Lemon And Toasted Coconut Cheesecake
★Triple Chocolate Marble Cheesecake
★Triple Chocolate Cheesecake
★Maple Walnut Cheesecake
★Walnut Cheesecake
★Raspberry Pistachio Cheesecake
★Pistachio Cheesecake
★Lemon Macadamia Nut Cheesecake
★White Chocolate Macadamia Nut Cheesecake
★Tropical Brazil Nut Cheesecake
★Brazil Nut And Chocolate Swirl Cheesecake
★White Chocolate Raspberry Cashew Cheesecake
★Cashew Caramel Cheesecake
★Amaretto Almond Cheesecake
★Almond Crunch Cheesecake
★Peanut Caramel Cheesecake
★Peanut Butter Cup Cheesecake
★Peanut Butter And Chocolate Swirl Cheesecake
★ S’mores Cheesecake
★ Butterscotch Pecan Cheesecake
★ Marshmallow Swirl Cheesecake
★ Maple Walnut Cheesecake
★ Maple Pecan Cheesecake
★ Key Lime Cheesecake
★ Chocolate Hazelnut Cheesecake
★Vanilla Bean Cheesecake
★Salted Caramel Cheesecake
★Cookies And Cream Cheesecake
★Lemon Blueberry Cheesecake
★Classic Cheesecake
★Oreo Cheesecake
★New York Cheesecake
★Lemon Cheesecake
★Strawberry Cheesecake


Subscribe to our YouTube Channel https://www.youtube.com/@saltwaterhappy for more songs and life updates
Original songs from SC Kilfoy
All rights reserved. © SC Kilfoy | Saltwater Happy
To purchase the licensing rights to any song, please direct your inquiries to sckilfoy@gmail.com
Website: https://saltwaterhappy.ca
Facebook: https://www.facebook.com/sckilfoy/
YouTube: https://www.youtube.com/@saltwaterhappy
Tiktok: https://www.tiktok.com/@saltwaterhappy
newfoundland, newfoundlander, newfie, originalsong, original song, song writer, writer, saltwater happy, sc kilfoy, music, music video, visualizer, music, video, musicvideo, newmusic, independentartist, unsignedhype, indieartist, unsigned, songwriter, smallbusiness, business, follow, entrepreneur
Austin and Dylan are 10-year-old twins with one thing on their minds – Adventure. Color along as they find treasures and maps, birds, and decide to continue the adventure for others to share in.
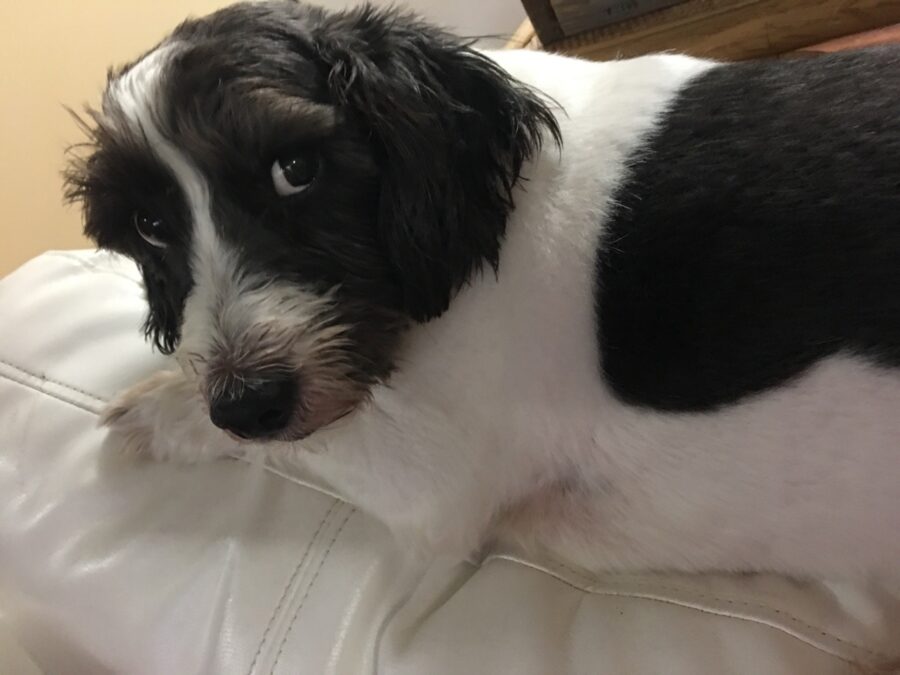
Our sweet boy means so much too us. He fills our lives with so much joy. Charlie loves kisses and will spread out in the bed along your body and keep you warm in winter. He is our own personal heater.
His soulful eyes and toothy smile will make your heart sing when you look at him. We adore him so much, we wrote a book for him. A dollar from each sale will be donated to the Burin SPCA.
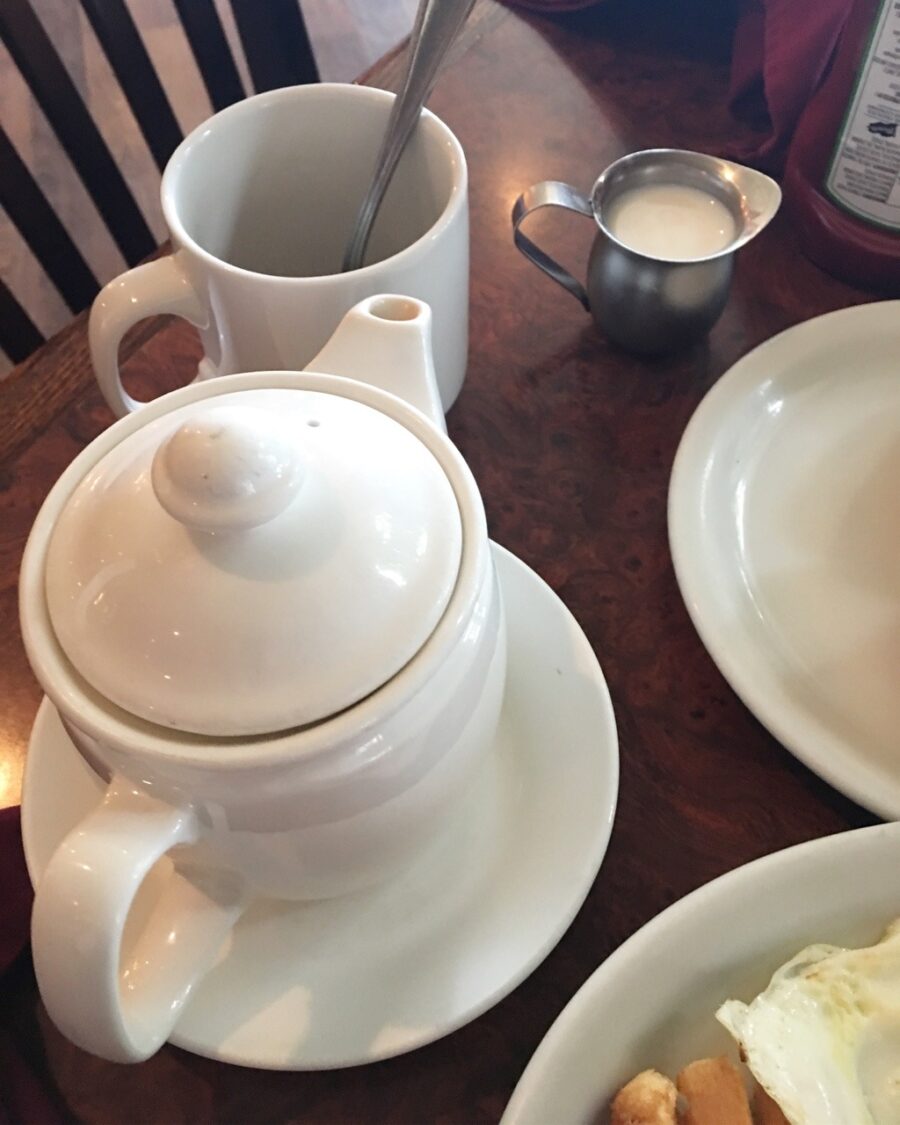
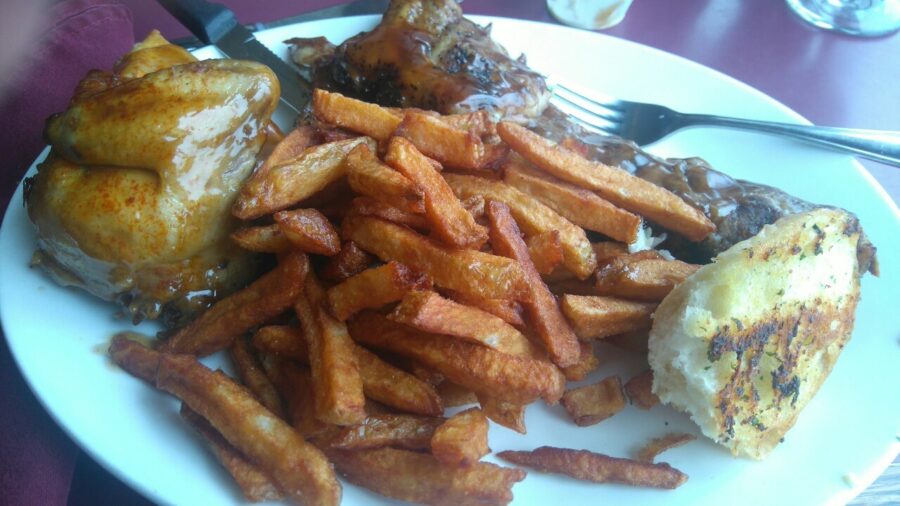
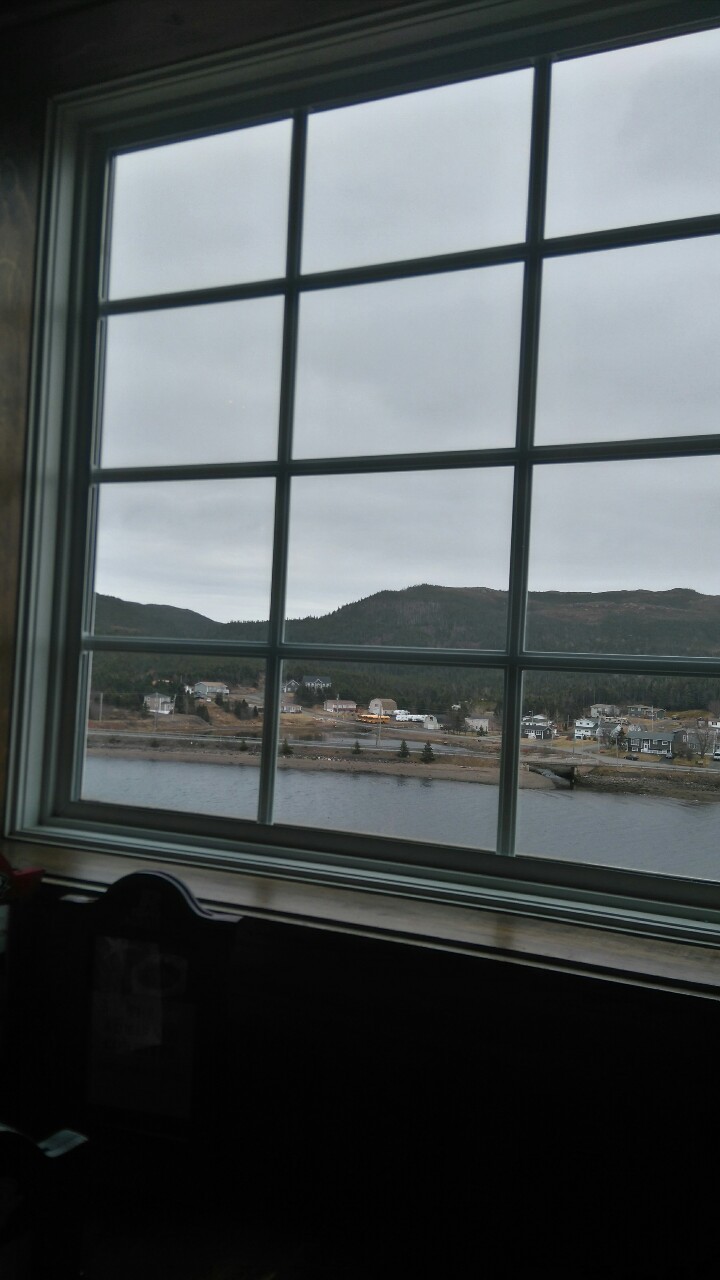
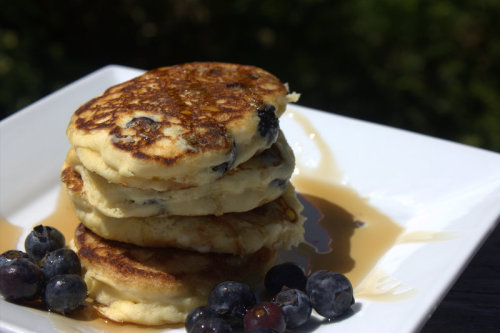
Breakfast is probably my favorite meal of the day. It is relaxing and absolutely tasty. Are you a coffee or a tea drinker? We love our Tetley in this house. On this day we decided to have a special morning and headed to the Marystown Hotel to partake of their breakfast menu. Toutons for the win!


Address: 180-190 Ville Marie Dr, Marystown, NL A0E 2M0 | Phone: (709) 279-1600
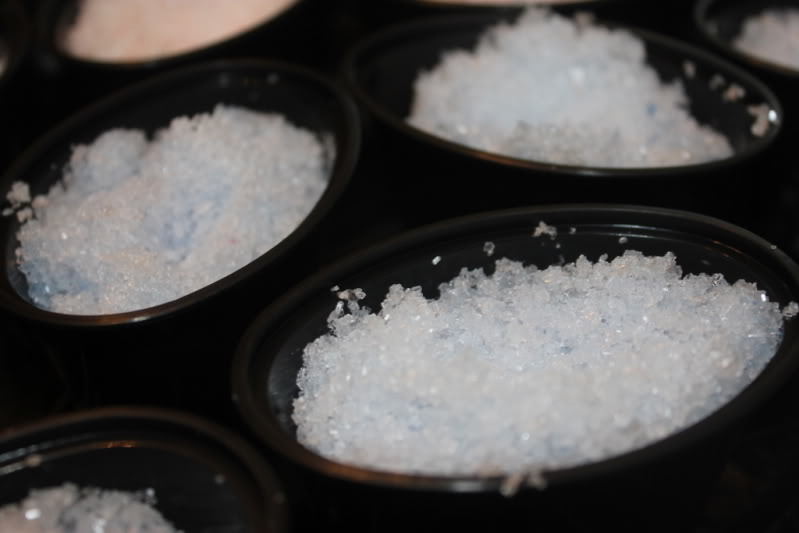
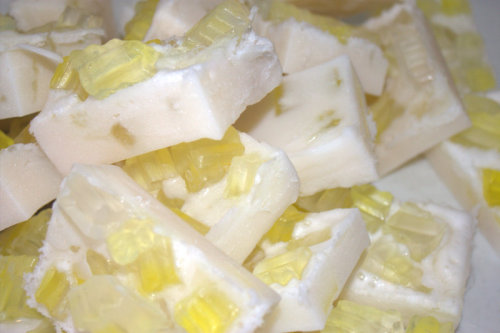
One of my most popular soaps is the Glacier Soap. Inspired by my love for icebergs, I created a soap that not only looks like an iceberg but also provides great benefits for the skin.
Note: I purchase my supplies from New Directions. They offer great prices and fast service.

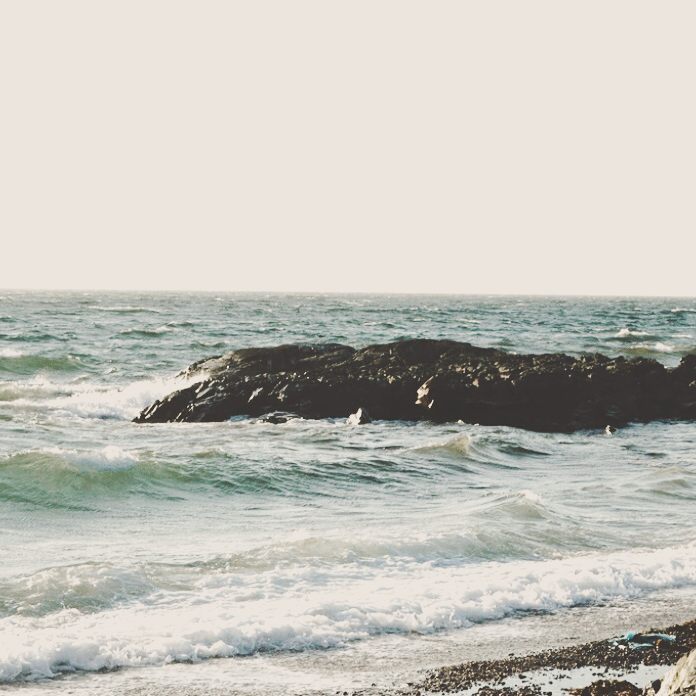
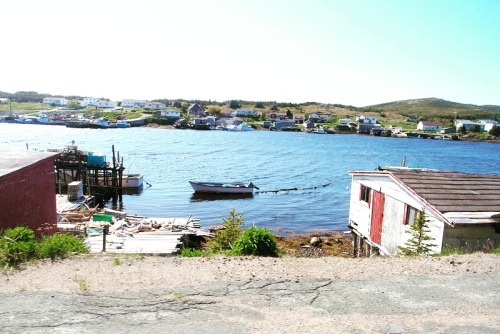
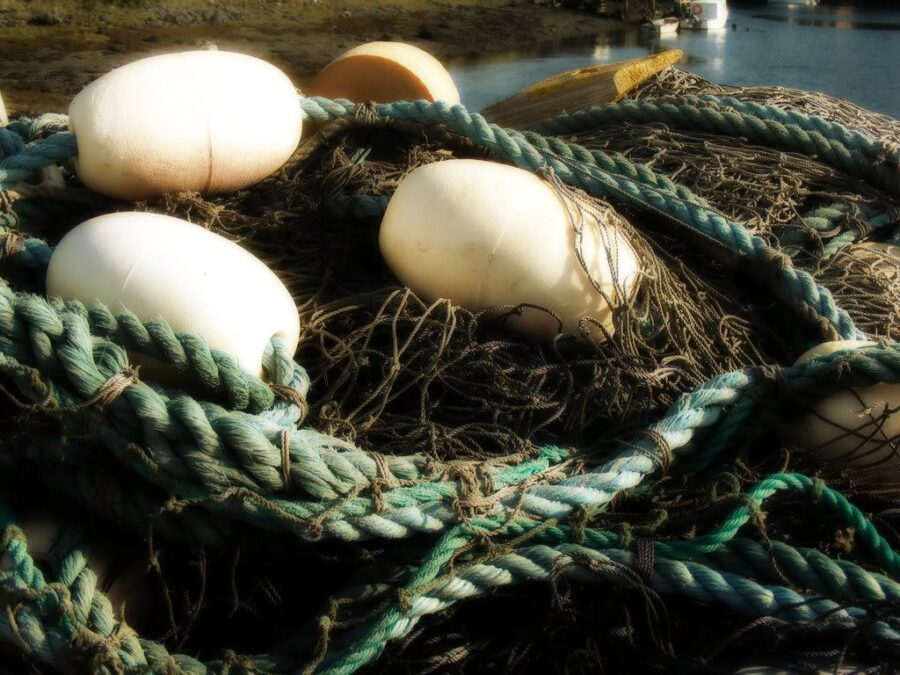
A lovely stroll along the board walk in Burin along the sea edge is a great way to start your day or spend the afternoon.
An afternoon road trip to Grand Bank brought us to a little café called Sharon’s Nook. Their baked goods are worth the trip. Yum.
Address: 12 Water St, Grand Bank, NL A0E 1W0 | Phone: (709) 832-0618
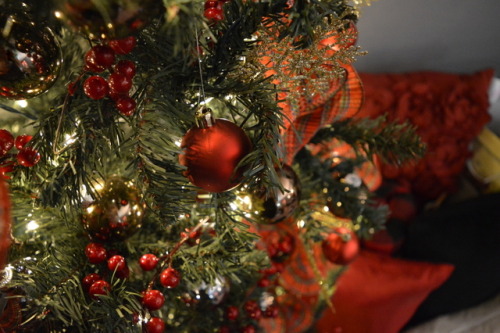
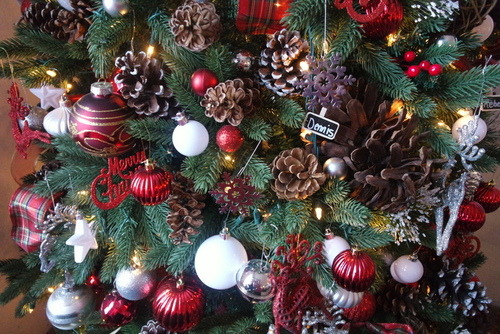
In Newfoundland, where snowflakes dance, And winter’s breath does chill, The hearths are warm, the spirits bright, On each and every hill.
The salty air with frost entwines, As waves kiss icy shore, The ocean whispers tales of old, Of love and yuletide lore.
The houses, trimmed with lights aglow, In colors bold and clear, Reflect upon the drifting snow, Announcing Christmas near.
In cozy homes, by firelight, The family gathers ’round, With stories shared and laughter bright, In joy they do abound.
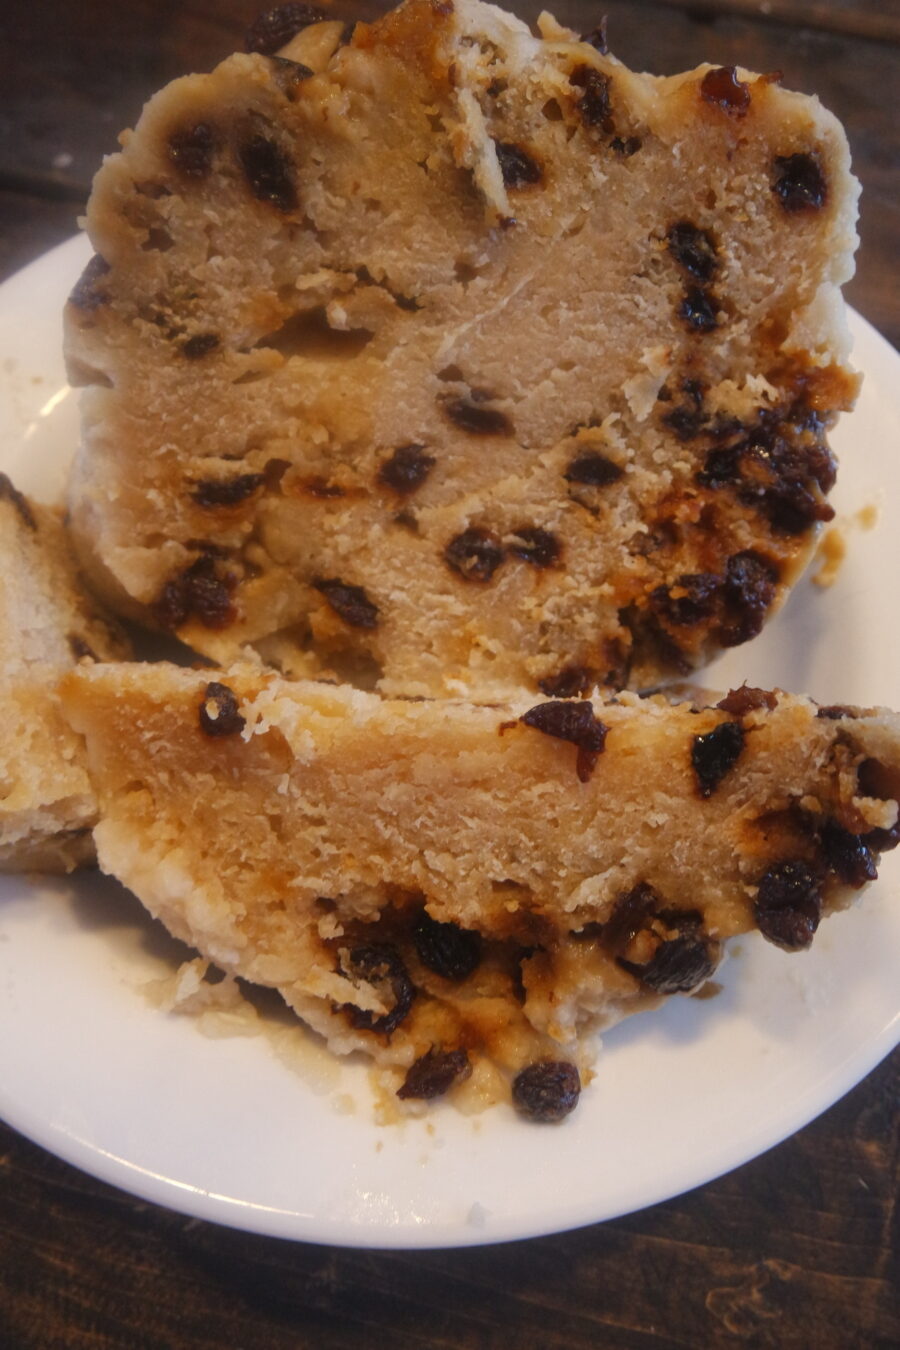
The kitchen hums with festive cheer, As scents of spice arise, With fruitcake, figgy pudding near, And turkey, golden, lies.
The carolers in mittens sing, Their voices crisp and true, Through frosty nights, their melodies Make spirits bright anew.
And in the sky, the stars do gleam, Like diamonds in the night, They guide the way for Santa’s team, His sleigh in graceful flight.
At midnight mass, the candles glow, In church so calm and still, Where hearts unite in reverent peace, And prayers the air do fill.
The spirit of old Newfoundland, In every heart does swell, With kindness, love, and memories, That no tongue can fully tell.
So here’s to Christmas by the sea, In Newfoundland so grand, Where simple joys and nature’s grace Go hand in hand, hand in hand.
Copyright © 2024 SC Kilfoy & Saltwater Happy


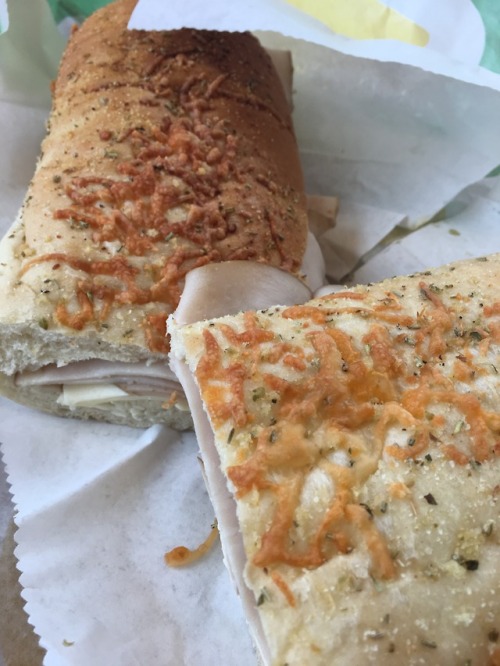
Mine is a turkey, cheese, and mayo on Italian Herb bread. It never changes. Diet Pepsi for the win.


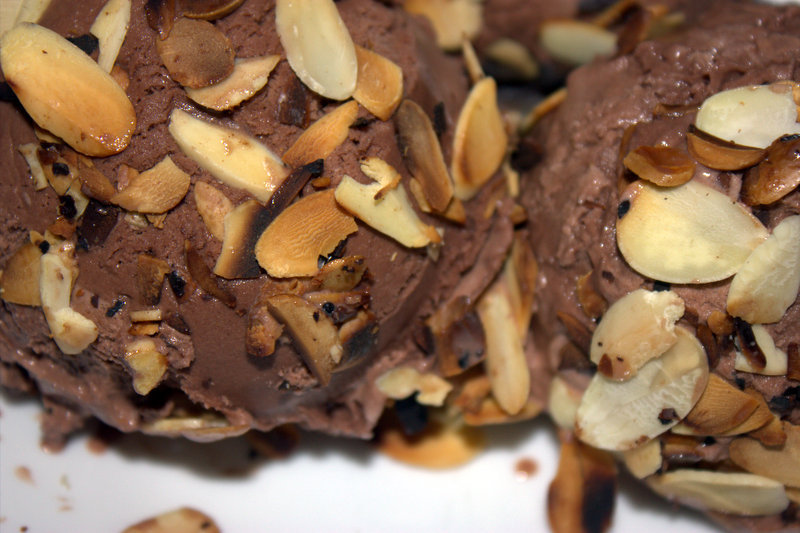
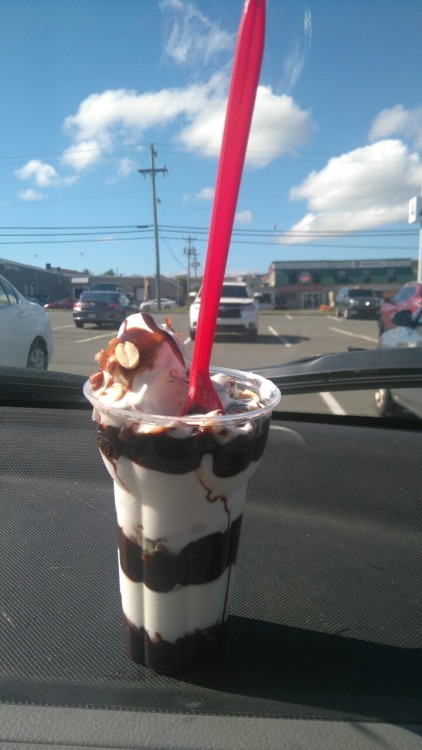
This little treat cheat is unbelievable. All you have to do is toast your almond slices in a skillet. Be very careful not to burn them. Low and slow! Scoop out your favorite chocolate ice-cream and then roll them into the toasted almond. Place back into the freezer or serve immediately. YUM!

For the Chicken Balls:
For the Sweet and Sour Sauce:
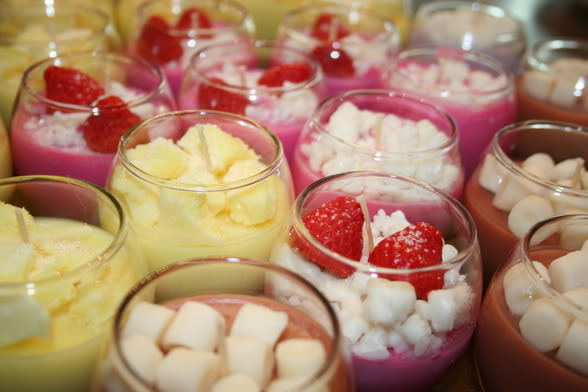
For the Pudding:
For the Sauce (Optional):


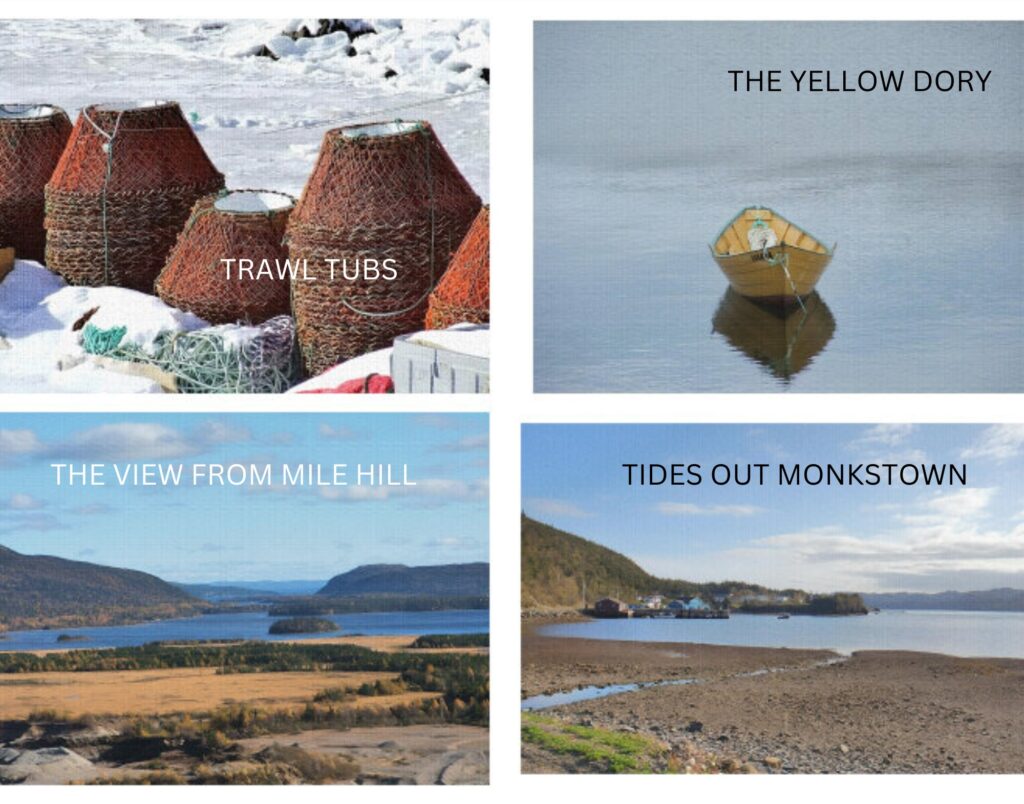
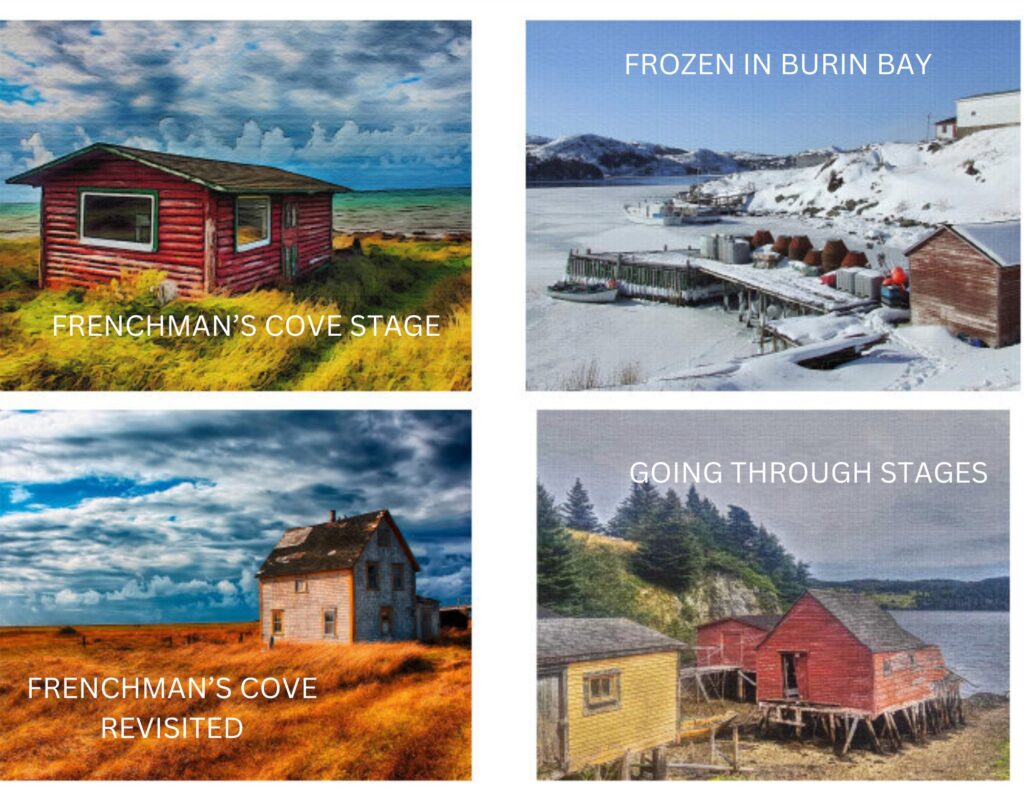
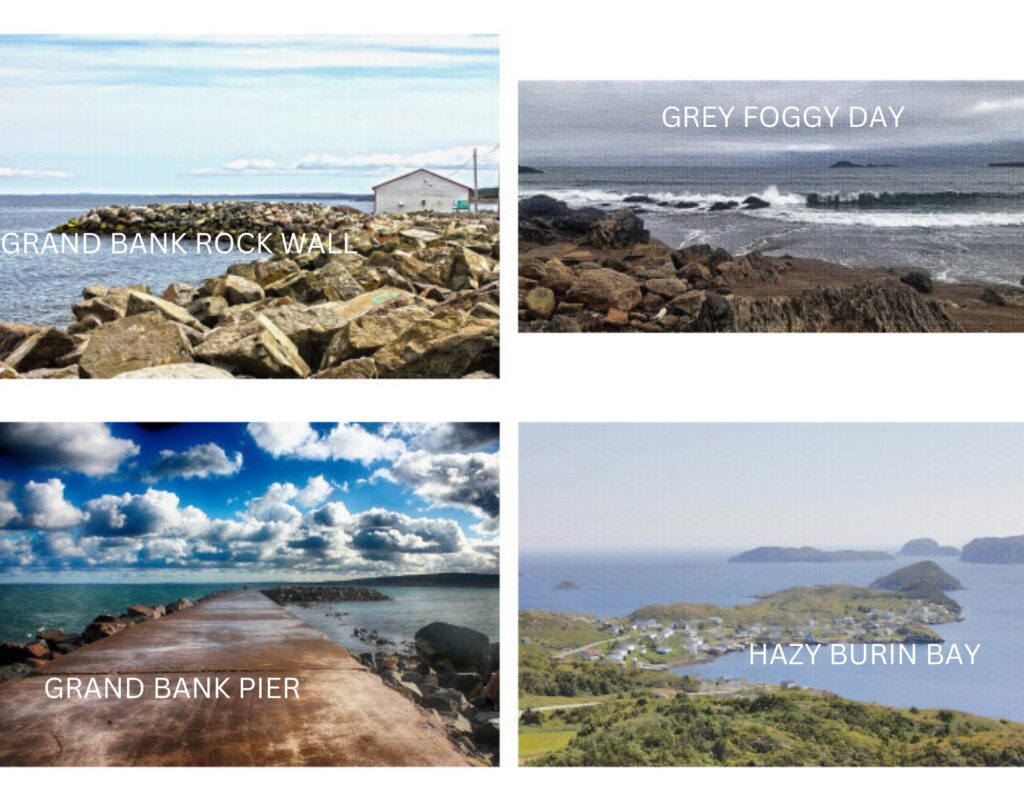
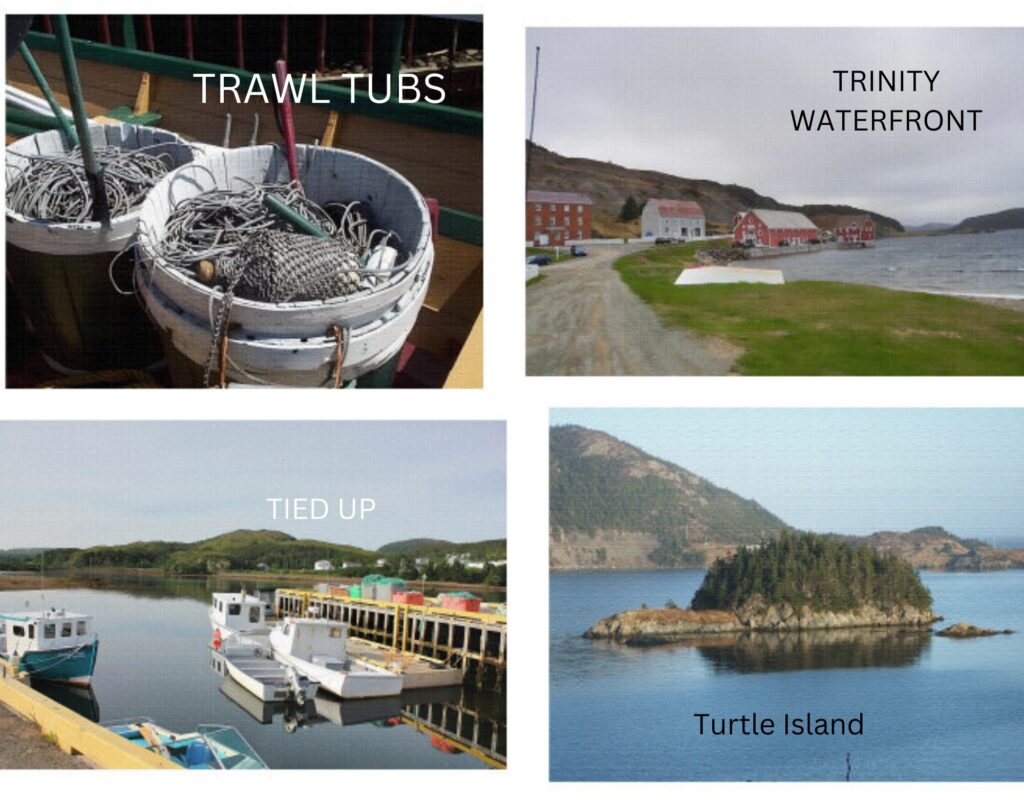
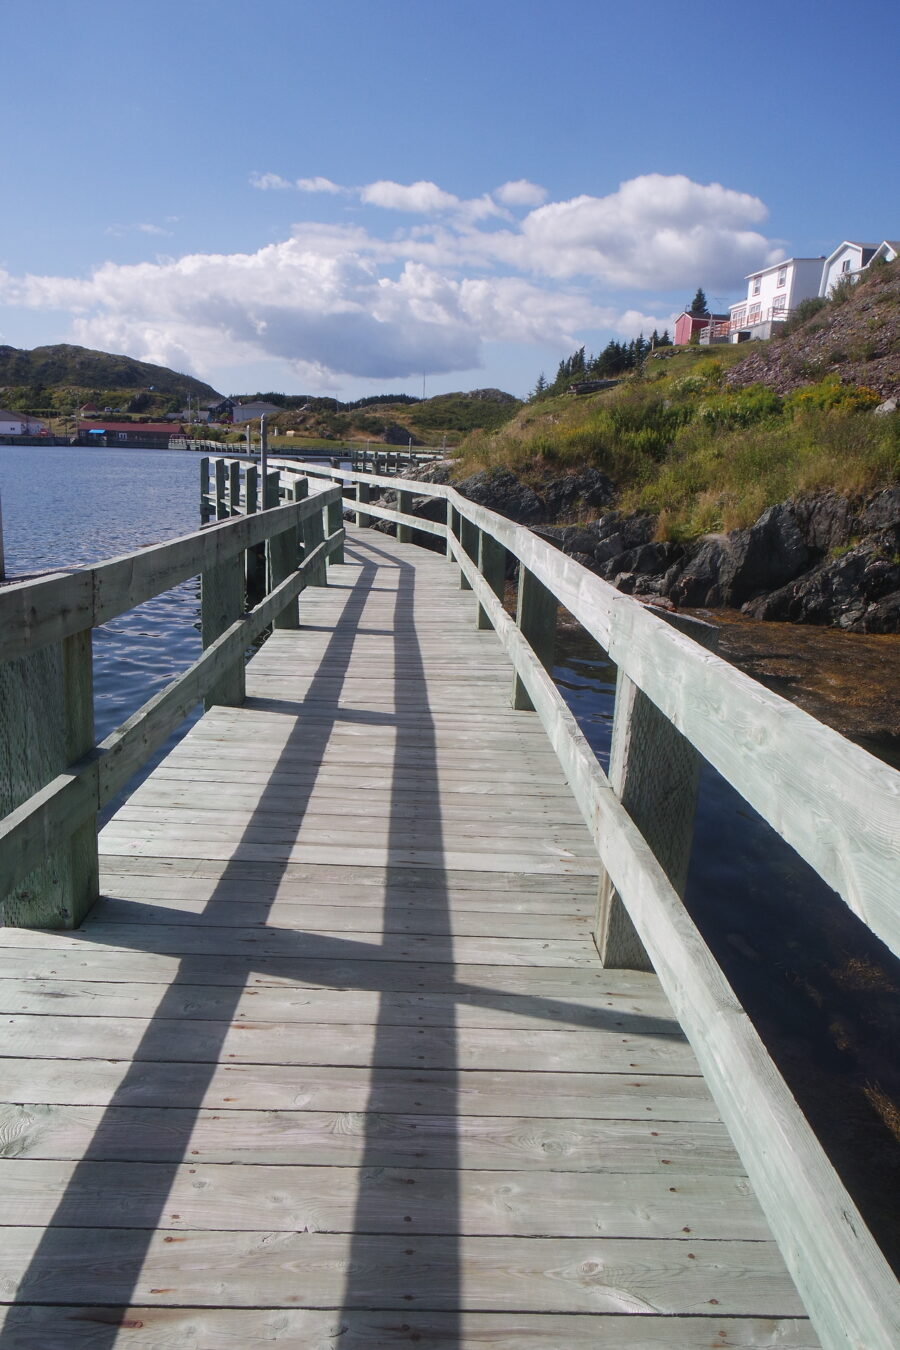
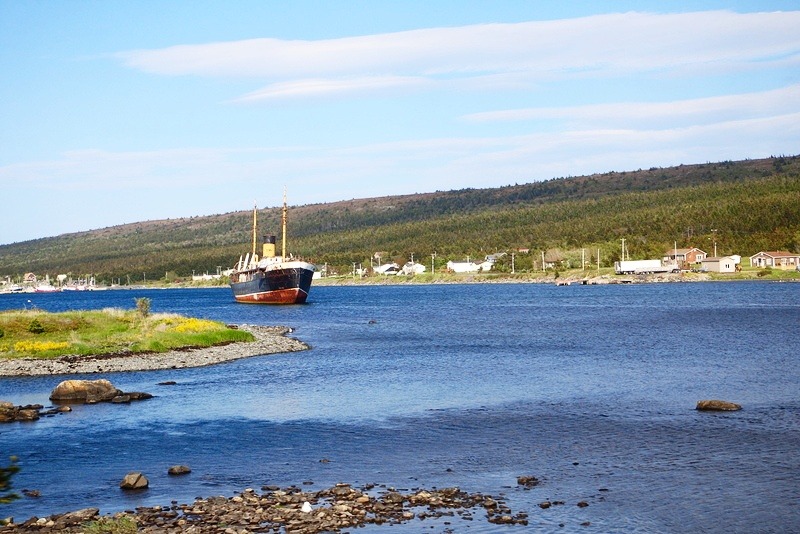
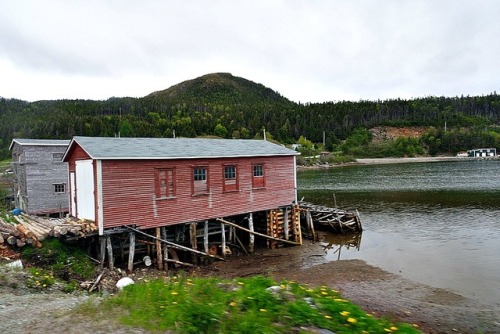
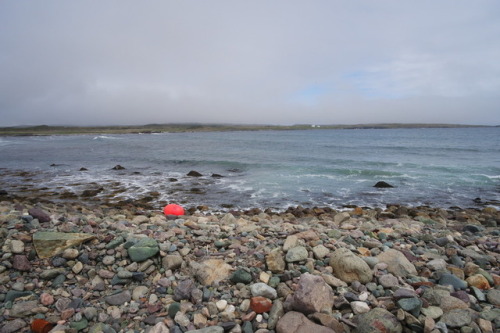
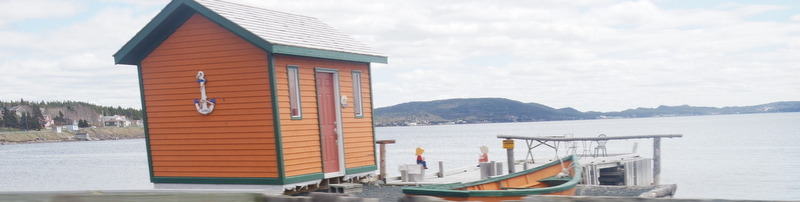
Photo taken in Garnish, Newfoundland
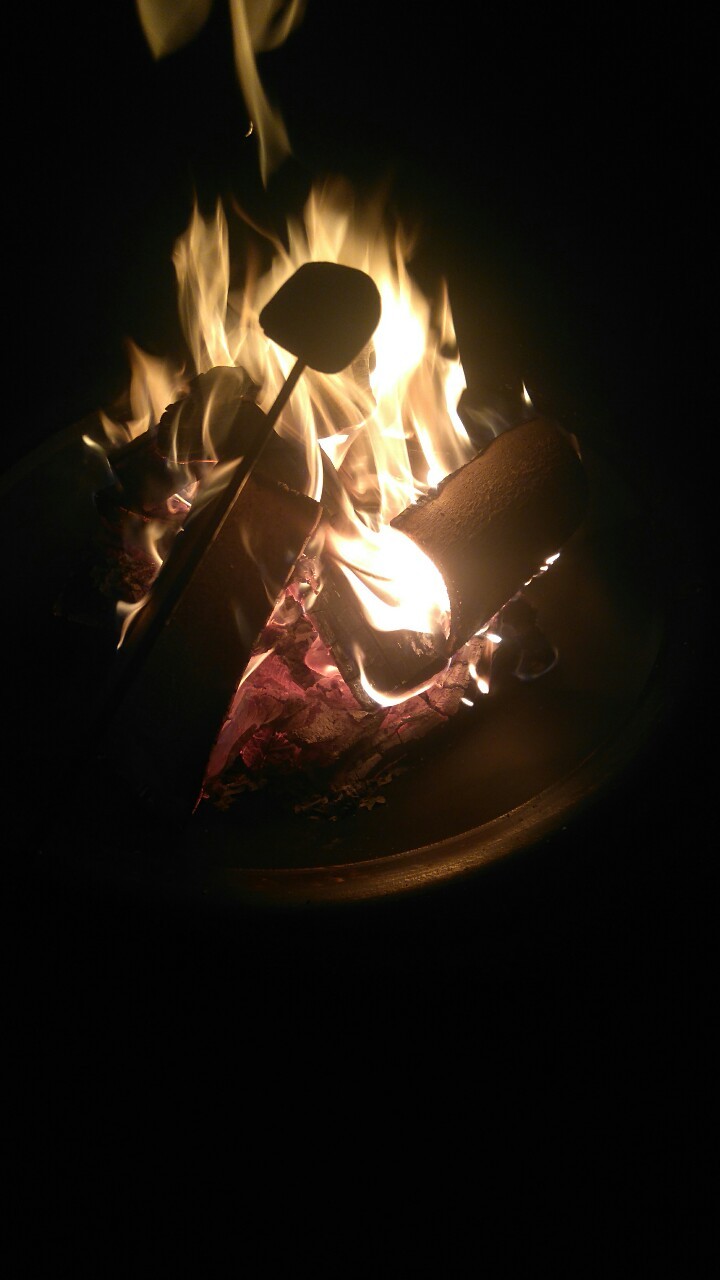
Sitting by the camp fire roasting marshmallows and having a laugh. Stars bright in the sky, full moon, the howl of the wolf in the distance. Take me there!
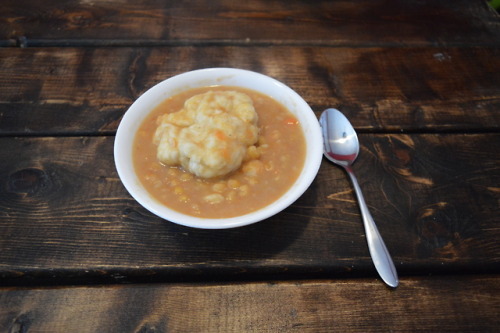
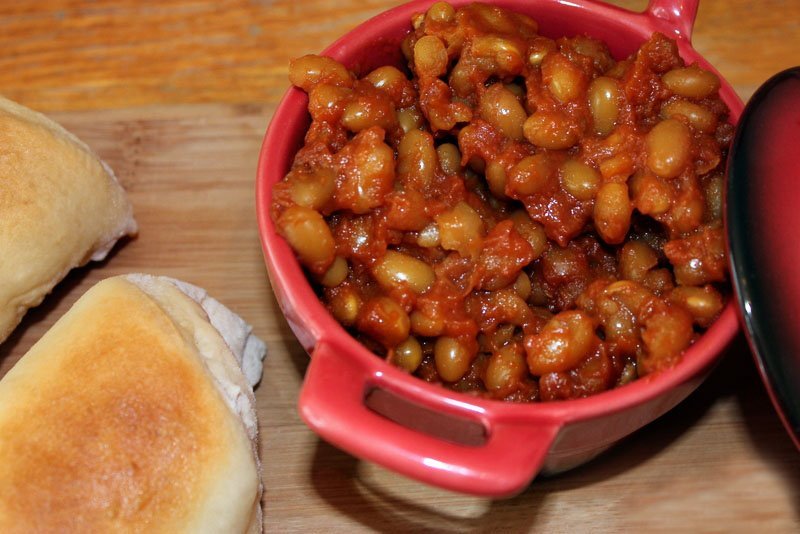
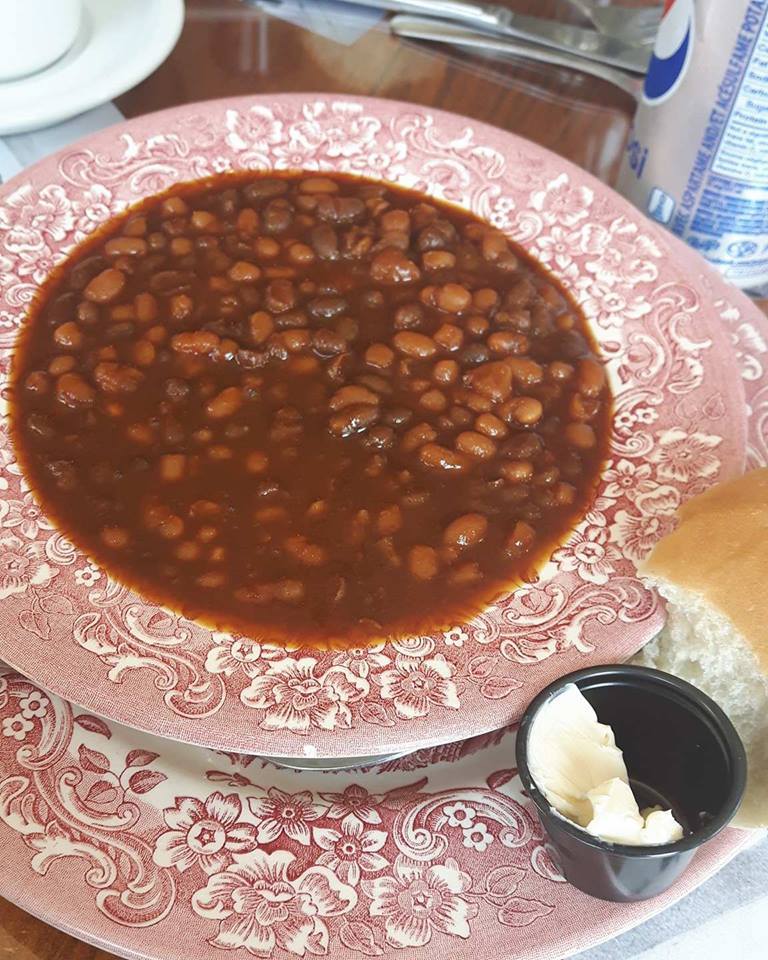
Baked beans and marshberry pie along with three lifelong friends. The food and company were delightful.

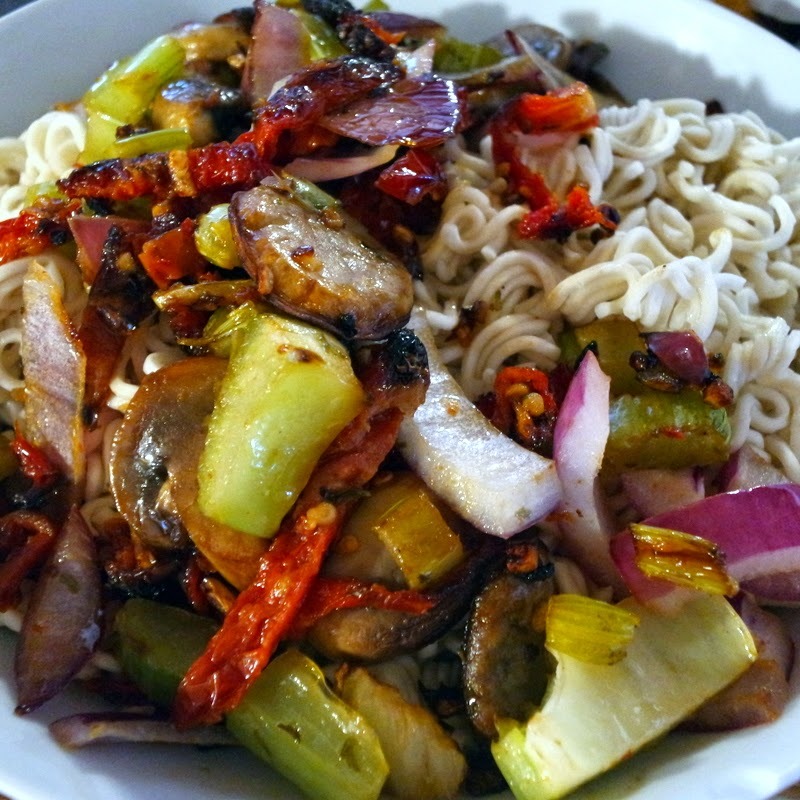
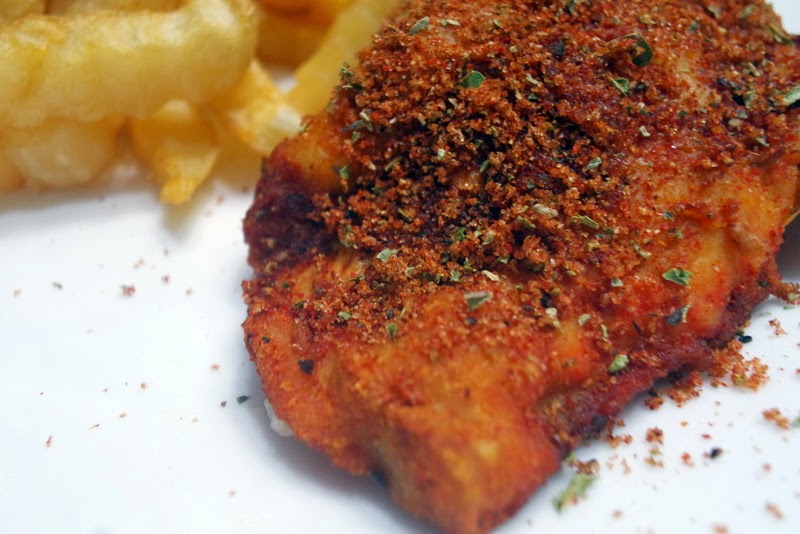
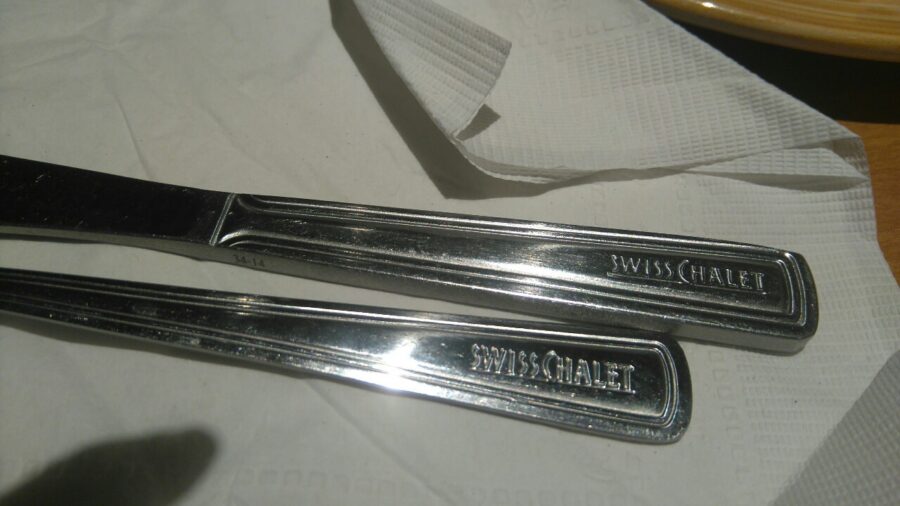
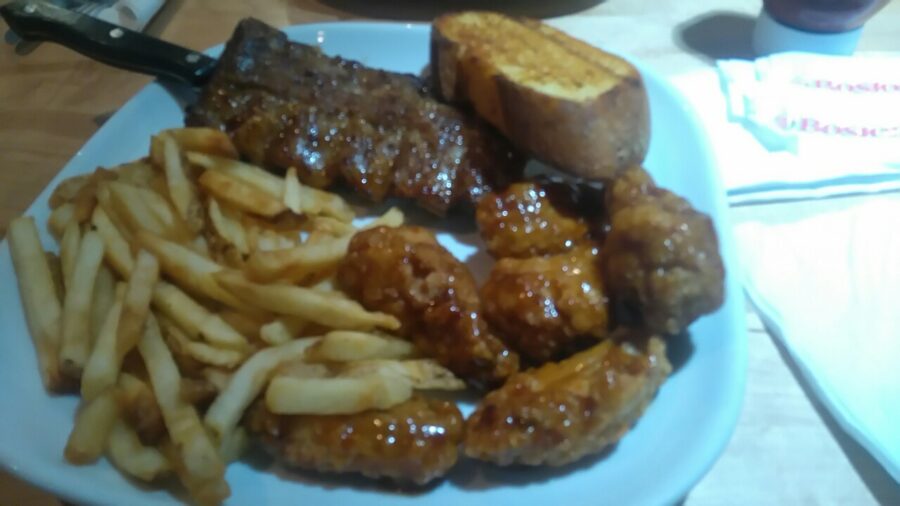
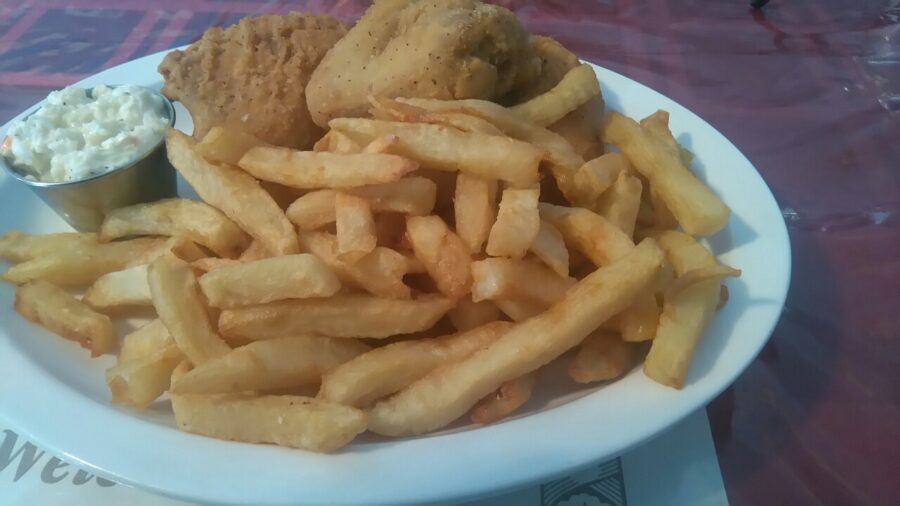
Those little chunks on the first plate are supposed to be ribs. They were delicious but I’m not sure what animal they were the ribs from being that tiny.


New York fries and a Dairy Queen Peanut Buster Parfait for the win!


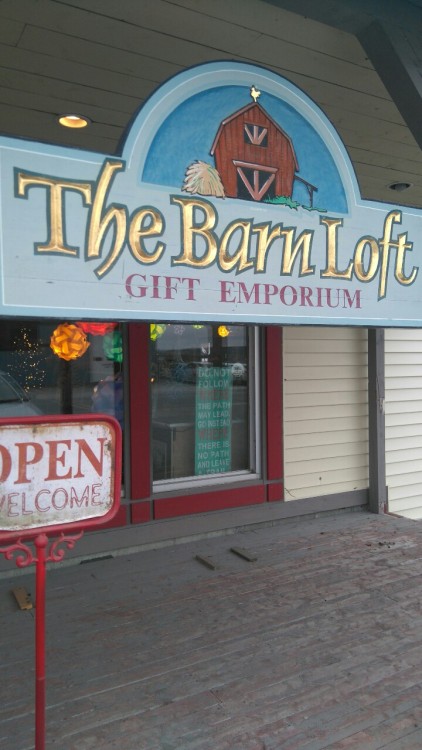
I would very much love to own this store or spend the night inside the store so I can look at every single item.


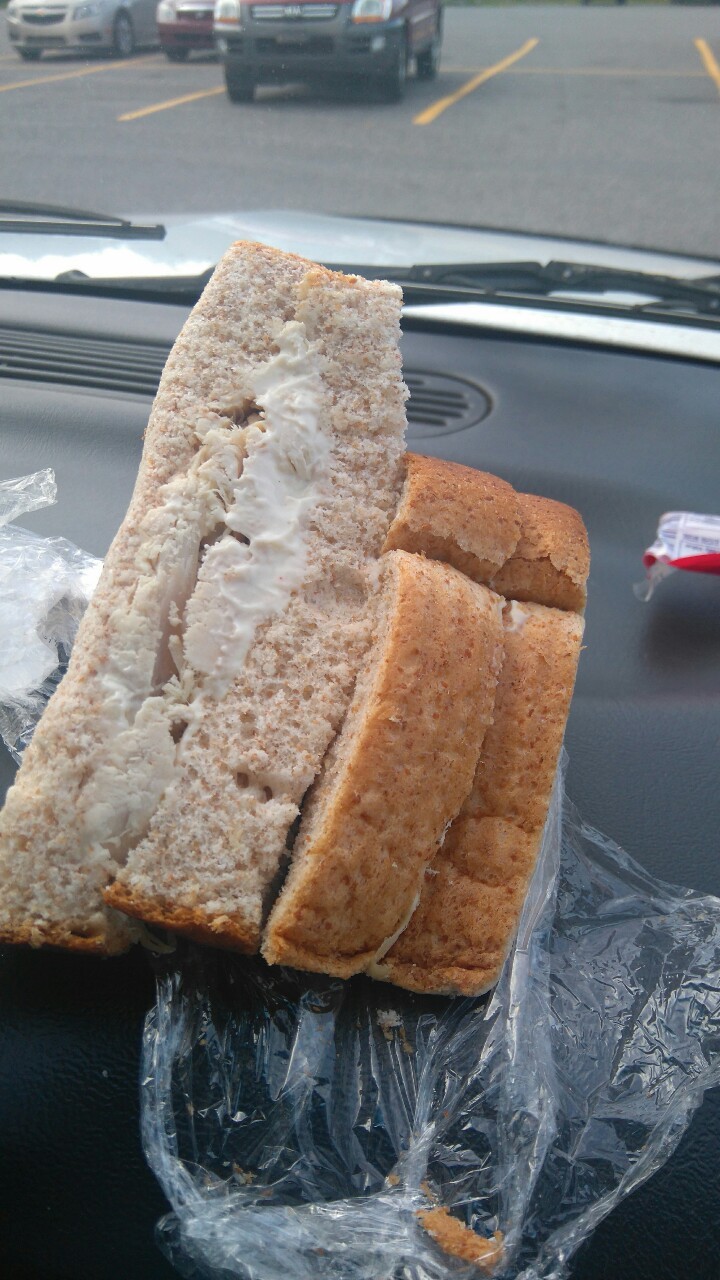
Do you stop at one of the gas stations in Gobies on the Trans Canada Highway? Do you pick up a homemade treat? Mine is a turkey sandwich.